

The Checklist is included on every plan. There’s no separate limit on tasks, sections or templates.
Where to find it
The Checklist shows up in three places. Each one is a different view of the same tasks.
In the mobile app, the gig details show your next few tasks, and View all opens the full checklist. My checklist in the Inbox and on the Gigs tab opens your own tasks. See Checklist on mobile.
The building blocks
Learn these ideas first. Everything else builds on them.How it fits together
Your first checklist, step by step
This walkthrough builds a checklist on one gig on the web. It takes about five minutes. Every change saves on its own, so there’s nothing to save at the end.1
Open the Checklist tab
Open a gig and choose the Checklist tab. On a gig with no checklist yet, you see Use template, Paste data, and a field to add a section.
2
Start from a template, or from scratch
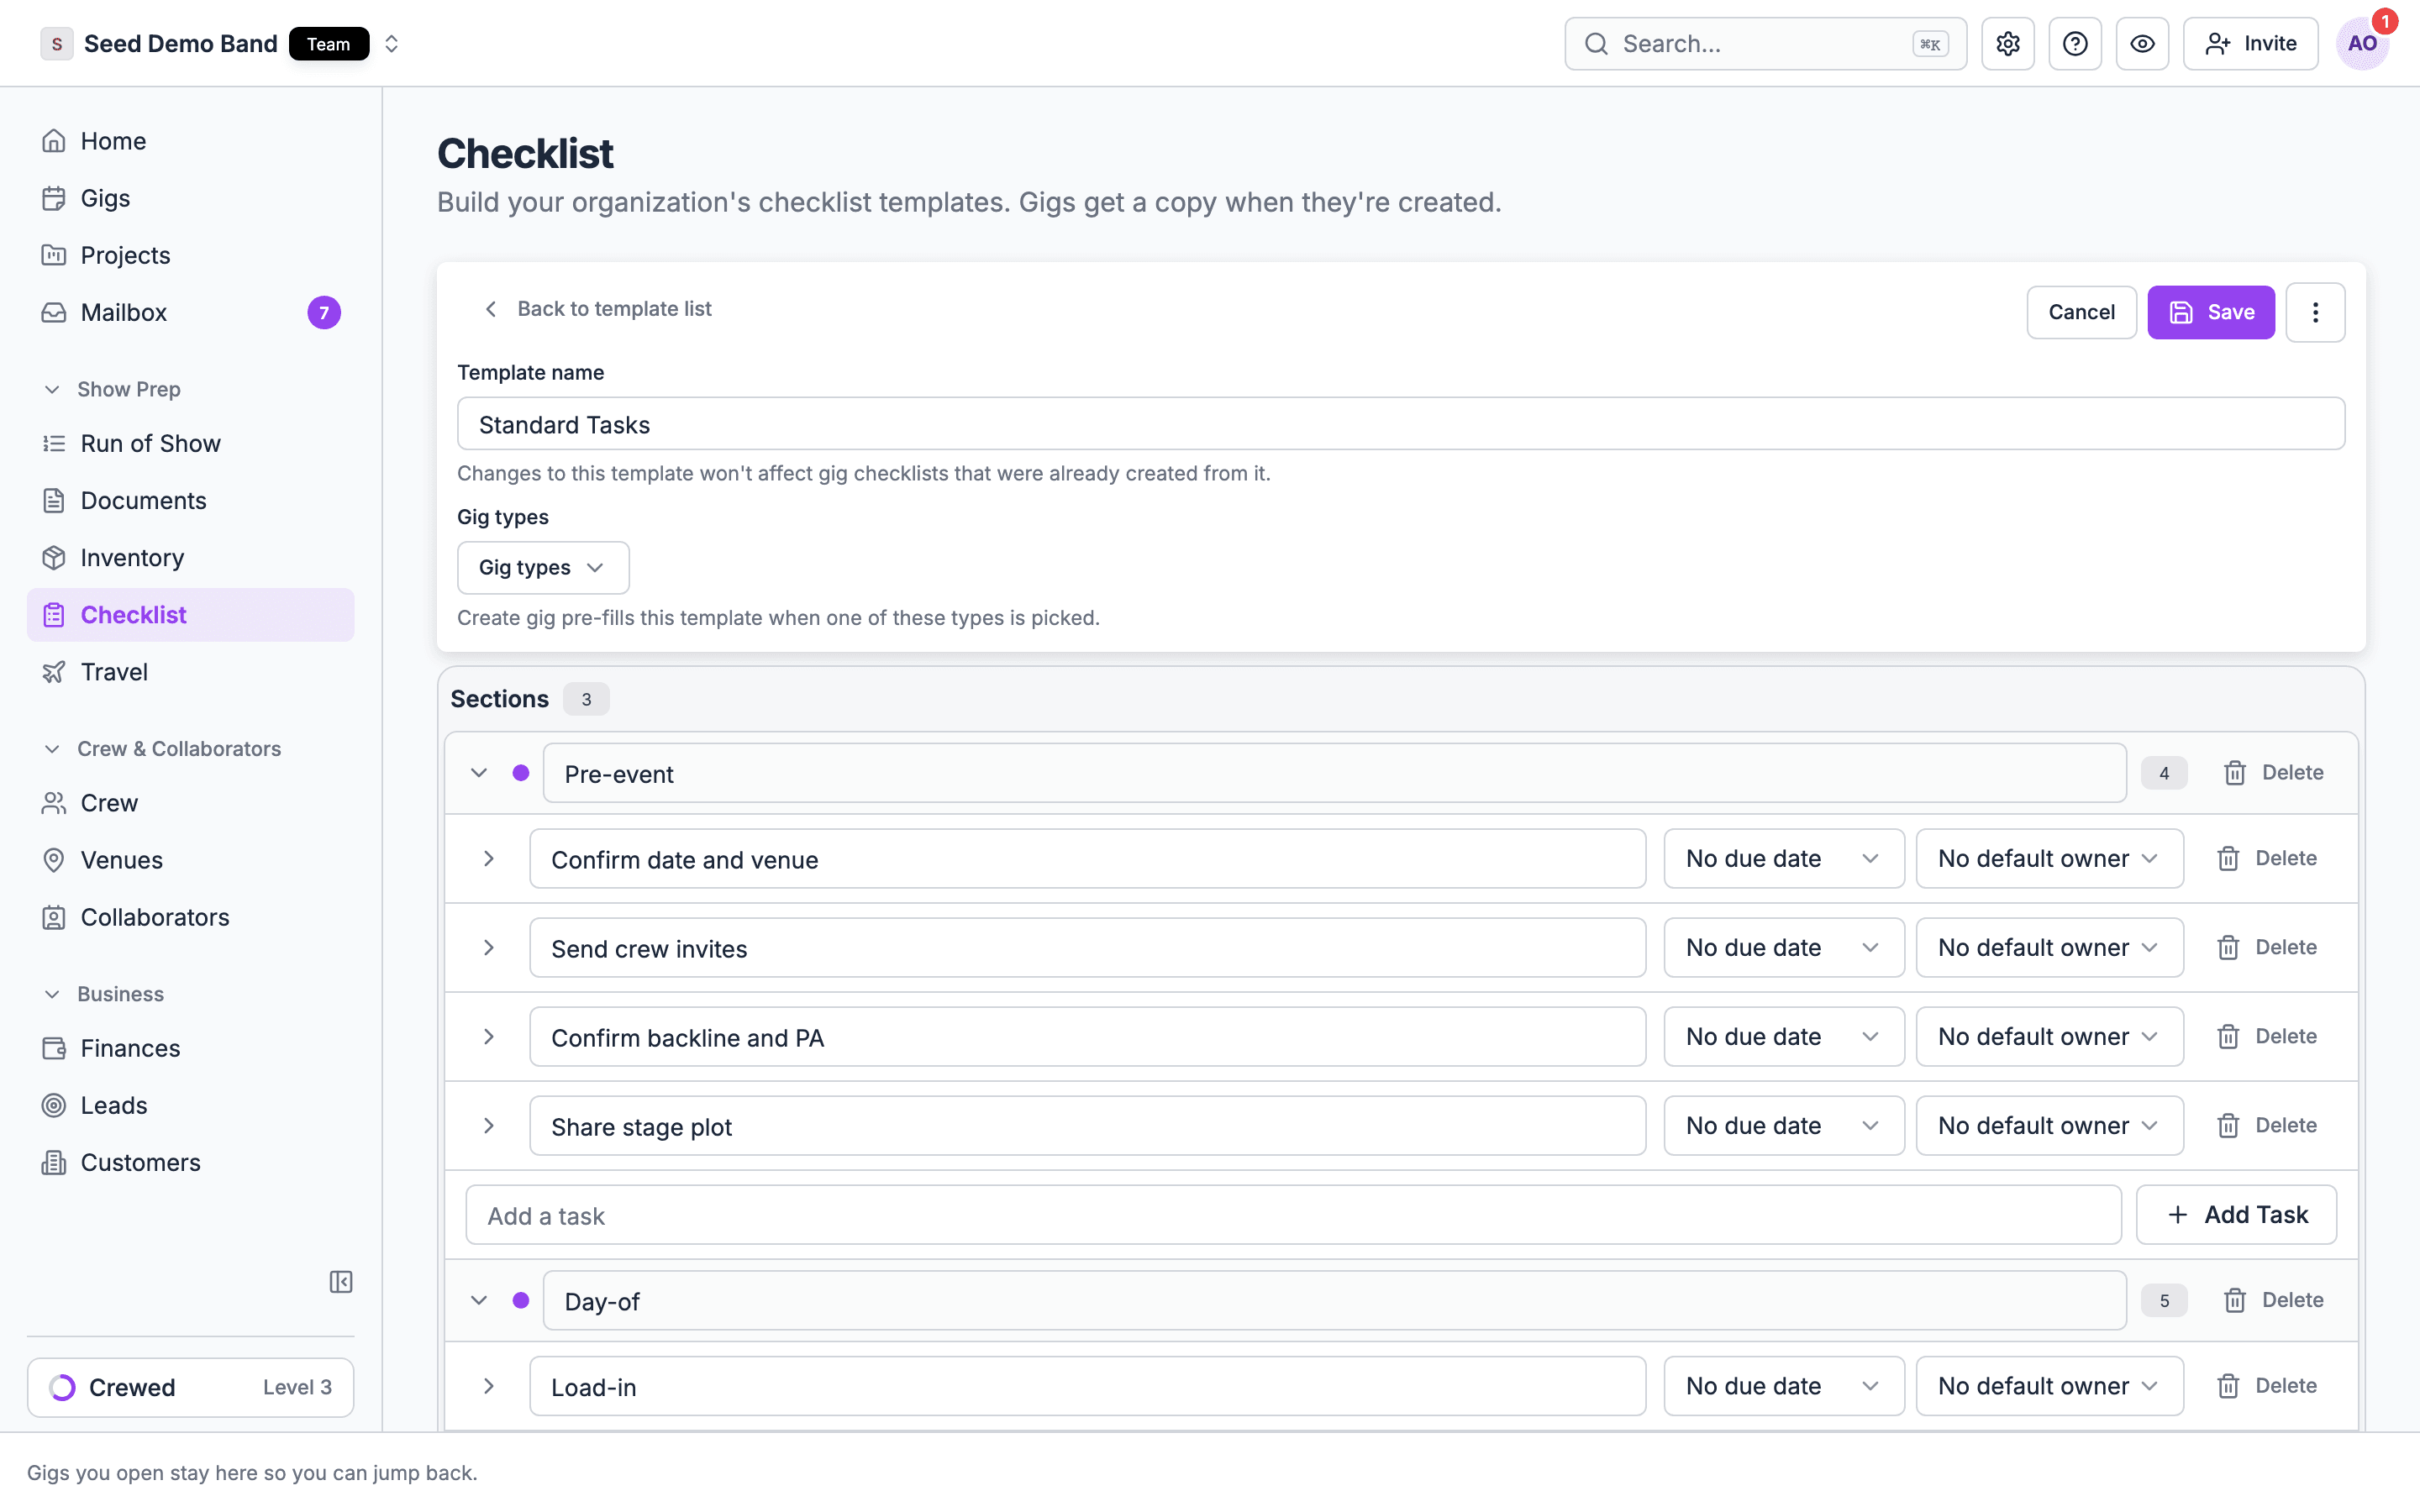
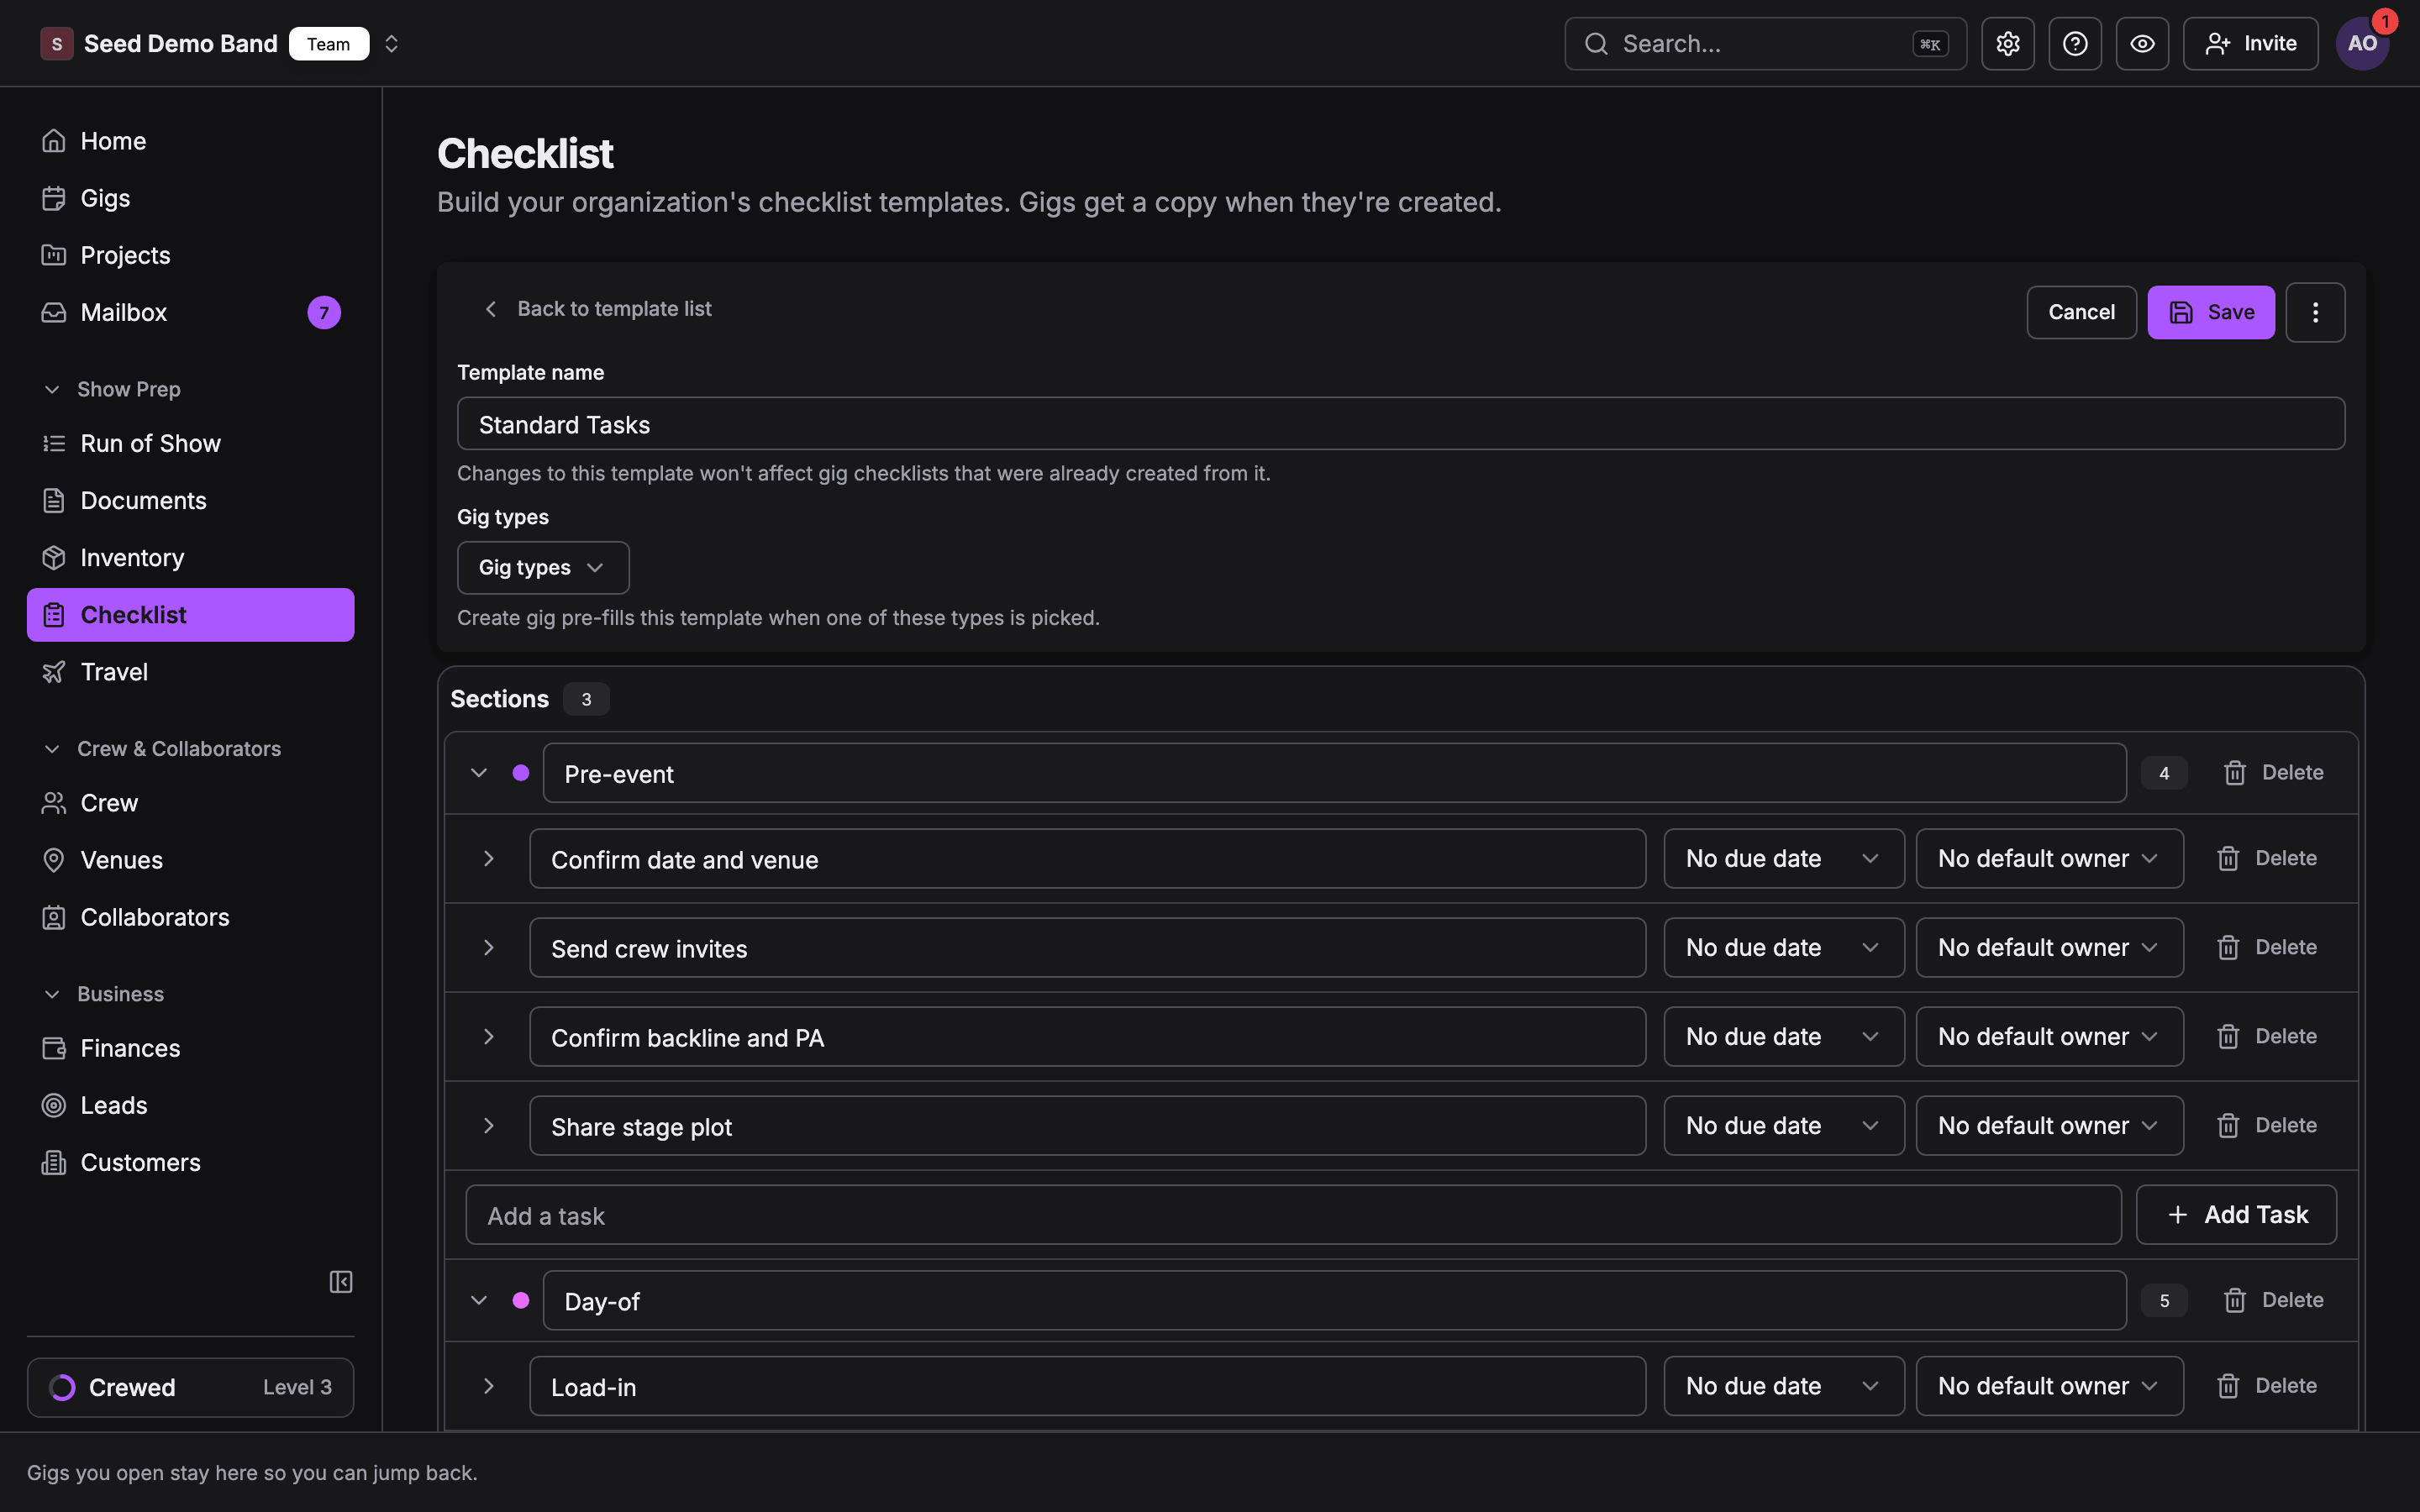
Choose Use template and pick a saved template to copy its sections and tasks onto the gig. Due dates and owners fill in from the template. To start blank, type a section name such as Pre-event in Add a section to group tasks together and press Enter. See Templates.
3
Add tasks
Under a section, type in Add a task and press Enter. The field stays ready for the next task, so you can add several in a row.
4
Assign each task
Pick a person from the task’s assignee control. They get a notification and the task appears in their own task list. See Your tasks.
5
Set due dates
Choose the task’s due date and pick a day. Overdue tasks turn red, and tasks due today turn amber.
6
Add notes
Expand a task with the chevron at the end of its row and type in Add notes. Notes save when you click away.
7
Work the list
Tick a task’s checkbox to complete it, or set its status to In progress. Use Search tasks or people and the All, Open, Overdue and Done filters to find what’s left. See Working a gig’s checklist.
8
Save it for next time
When the list is good, open Task actions (⋯) and choose Save as template. The next gig can start from it.
Pick the right page
Working a gig's checklist
Sections, tasks, status, assignees, due dates, notes, labels, search and filters, pasting a list, deleting a checklist.
Changing several tasks at once
Select tasks and set status, assign, shift or clear due dates, or delete them together.
Templates
The template library, starter packs, relative due dates, default owners, gig types, applying and saving templates.
Your tasks
Every task assigned to you across gigs, notifications, and what an assignee can change.
Automatic tasks
Tasks Soundcheck creates from the run of show, act seats, collaborator requests and close-out, and the Auto badge.
Works with
How the Checklist connects to Run of Show, people, Closeout, Home, open items, sharing, the client portal, exports, imports and AI assistants.
Mobile
The checklist in the mobile app: the gig preview, the full list, editing, and My checklist.
Troubleshooting
Answers when something doesn’t look right.
FAQ
Straight answers to what planners, producers, venues and tours ask about tasks, including what Soundcheck doesn’t do.
Glossary
Checklist, advancing and safety terms, and what each one is in Soundcheck.
Who can do what
An archived gig’s checklist is read-only.
When an Owner, Admin or Gig Coordinator changes a gig’s checklist, Soundcheck gives them the gig’s Checklist assignment, unless they already hold it or Lead. See Assigning people to run a gig.
Related
Gig overview
The tabbed gig detail the Checklist lives in.
Run of Show
The minute-by-minute plan that hands the Checklist timed tasks.
Templates & duplication
Reuse whole gigs, not just task lists.