

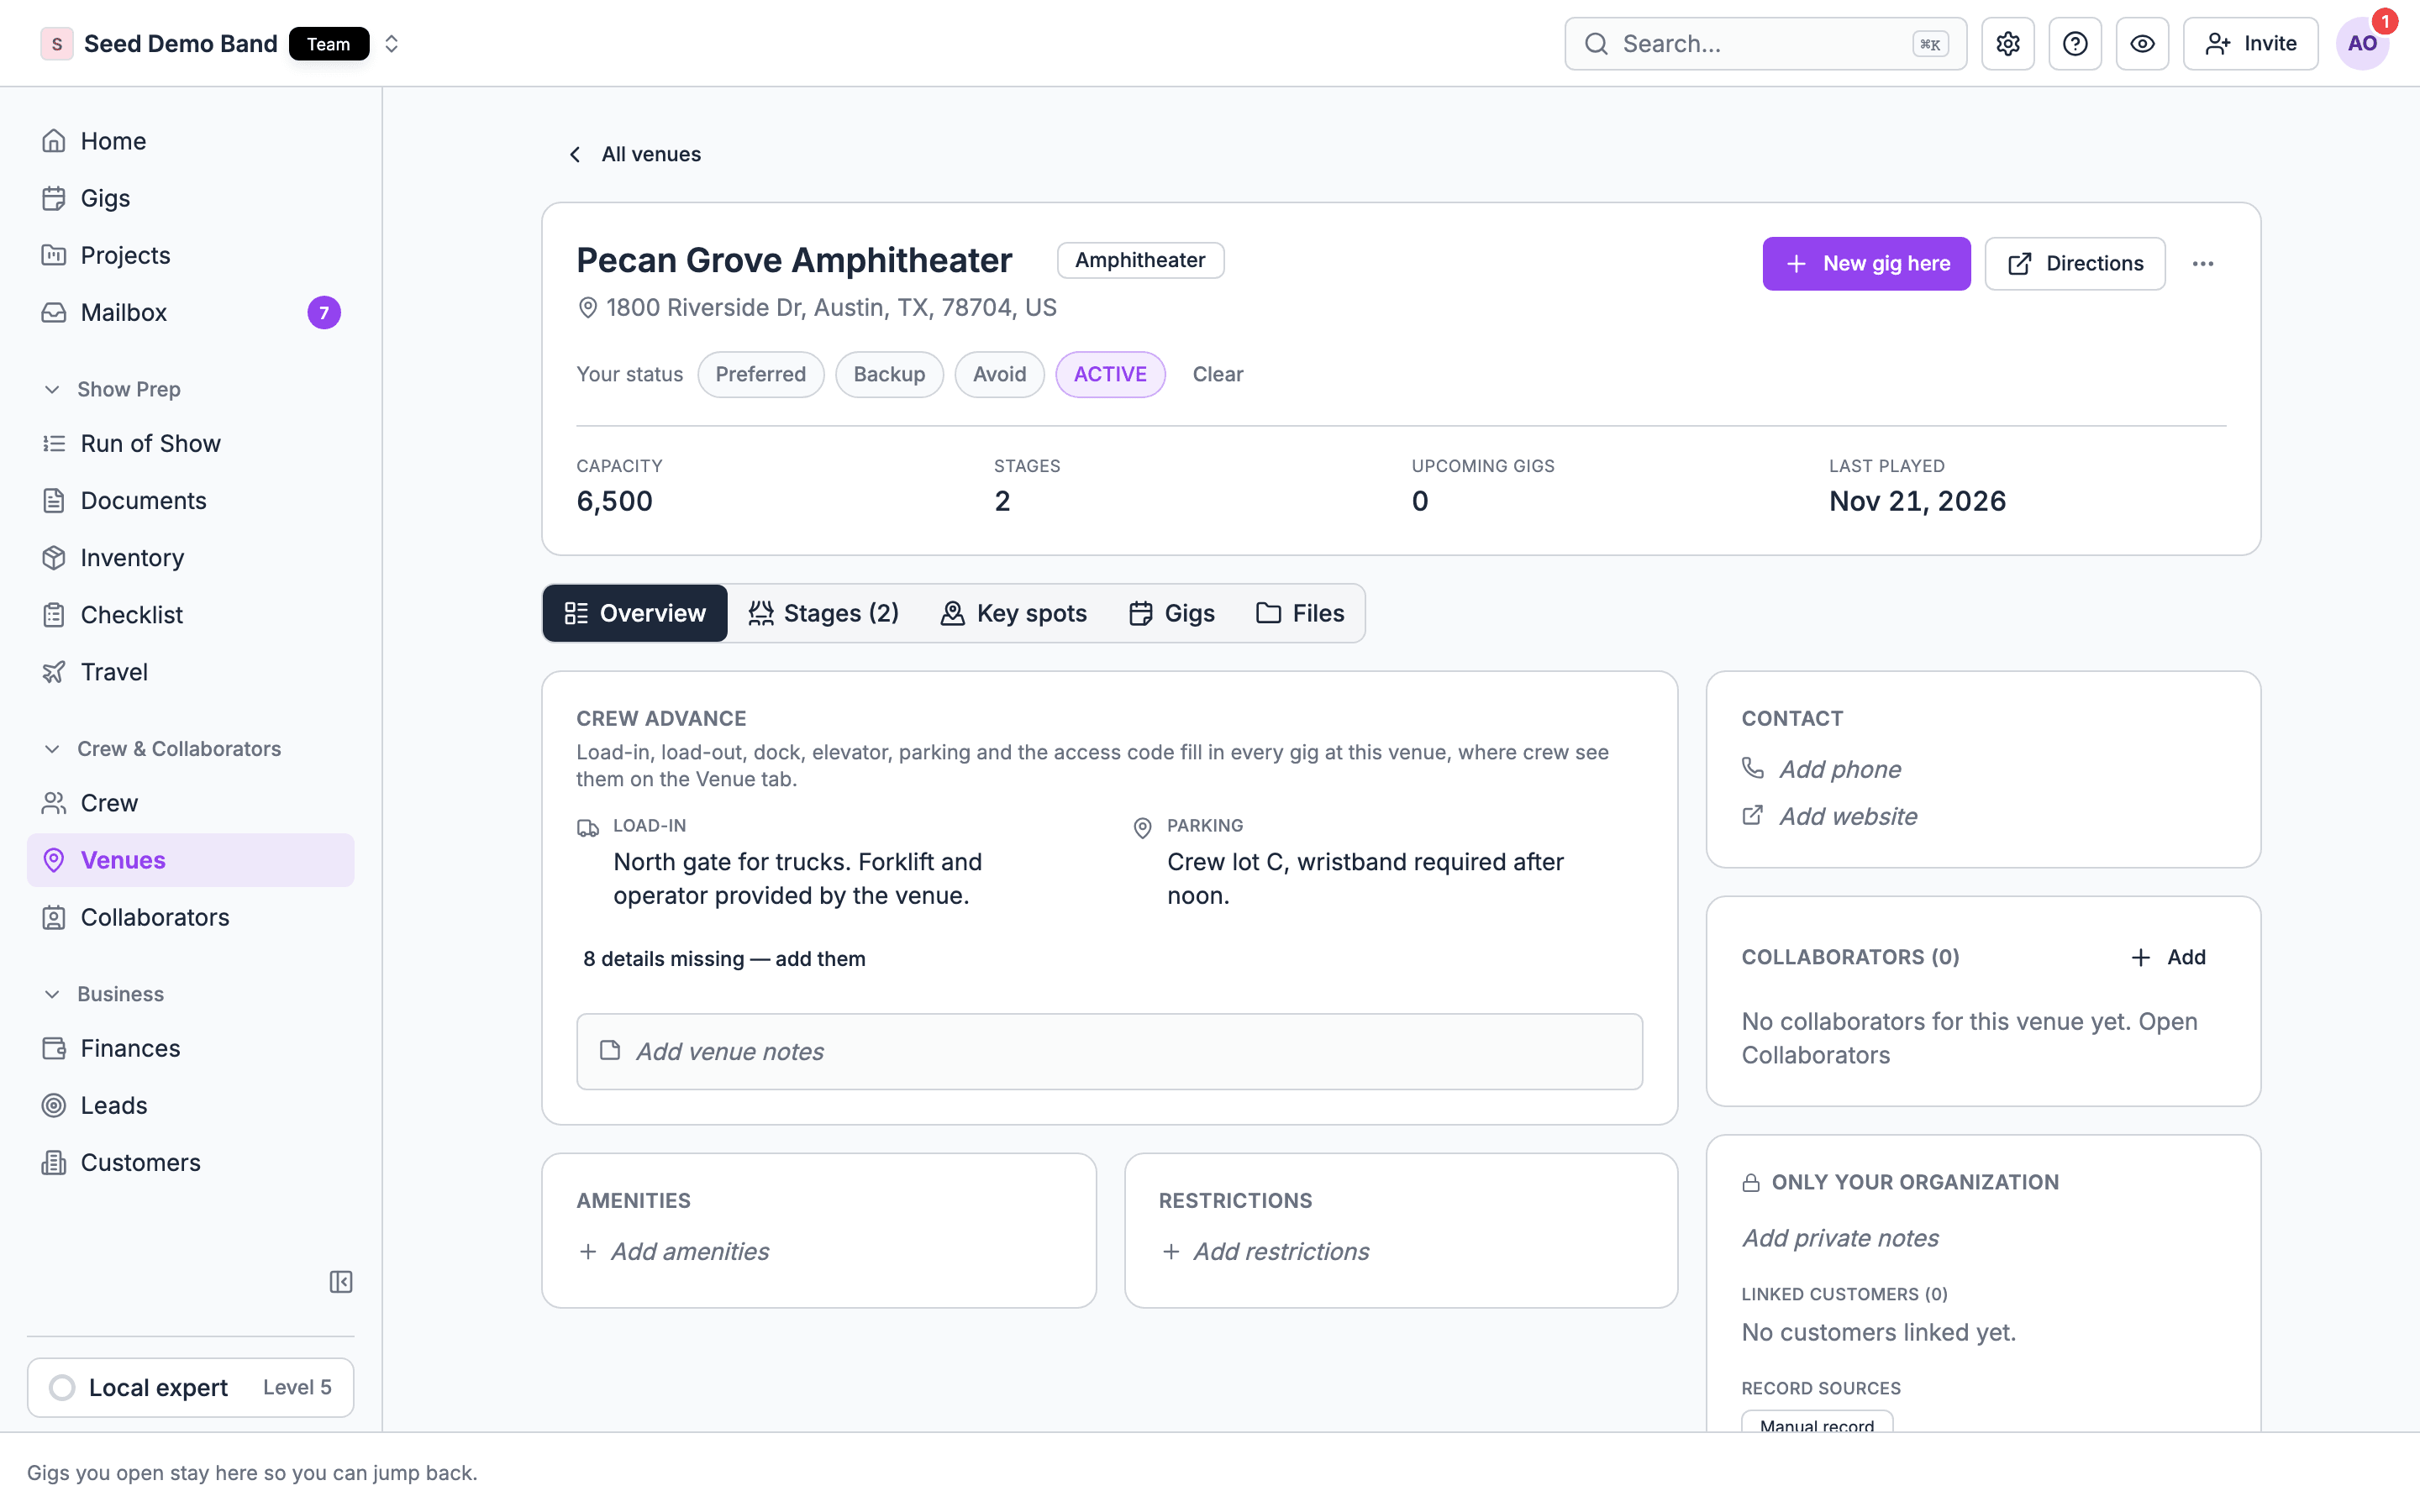
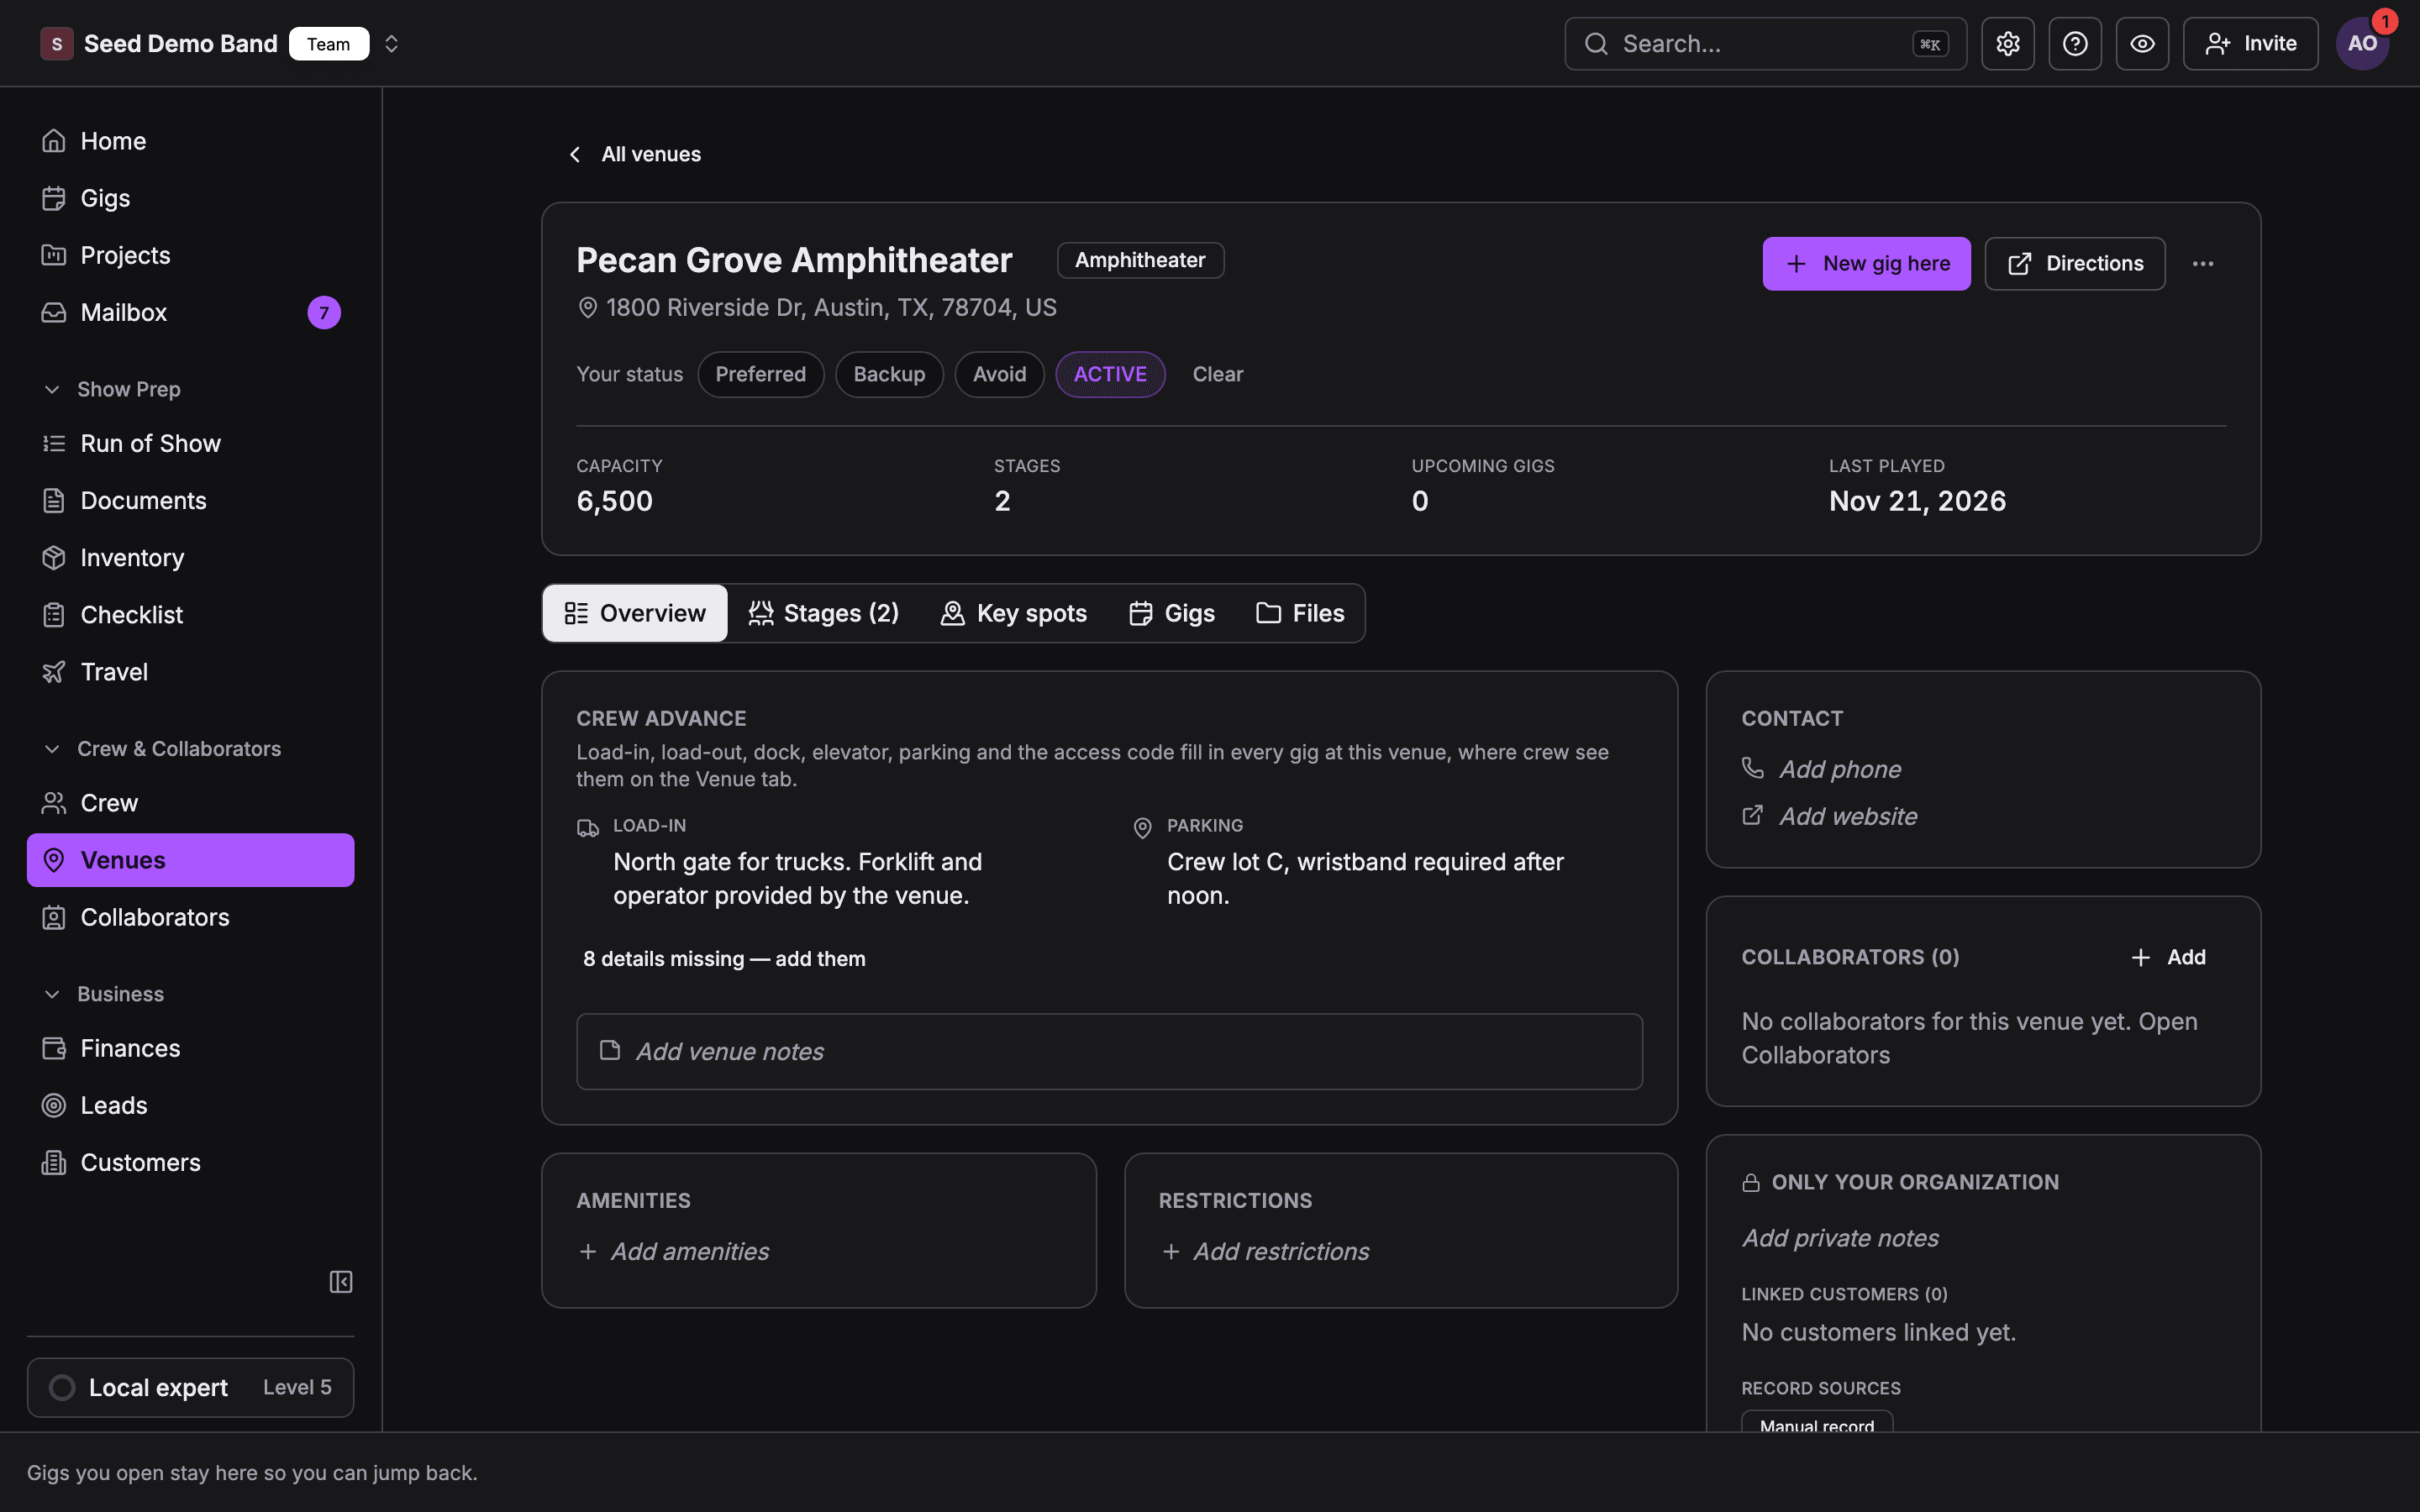
The header
The header shows the venue photo, name, type, rating, and address. The address opens Google Maps. From the header you can:- Choose New gig here to create a gig at this venue. The venue’s name, address, and location are filled in, and the gig is linked to the venue unless you change its location.
- Get Directions.
- Choose Fill from web to research the venue’s details. See Fill blanks from the web.
- Set Your status: preferred, backup, or avoid. Choose Clear to remove it.
- Remove the venue from the ⋯ menu with Remove from your venues. See Remove a venue.
The tabs
Overview
Crew advance
The details crew need to arrive and work: Load-in, Load-out, Dock, Elevator, Parking, Access code, Wi-Fi, dressing rooms, and Green room, plus Venue notes. Details you haven’t filled in are tucked behind “N details missing — add them”.Seven of these fill in every gig at the venue, where crew see them under Load-in & access on the gig’s Venue tab: Access code, Dock, Load-in, Load-out, Elevator, Parking, and Green room. Managers can change any of them for one show without touching this record. See Per-show changes.
Amenities and restrictions
Amenities are tags such as parking or catering. Restrictions are limits such as curfew or no pyro. Both show on the gig’s Venue tab for managers, under Venue details and Restrictions.Contact
The venue’s main Contact name, Role, Phone, Email and Website.Collaborators
Everyone you work with at the venue, such as the production manager, box office, and security lead. Choose Add for as many as you need. Use the pencil or trash icon on a row to edit or remove that person. Each one has a name or company, plus an optional title, email, phone, and notes. On a gig with no collaborator in the venue role, the gig’s People tab shows the venue’s contact in its Venue group, marked From venue. You change that contact here, not on the gig.Only your organization
Private notes, linked customers, and record sources. Nobody outside your organization sees them.Gigs
The Gigs tab lists your next 20 upcoming gigs at the venue (soonest first) and your last 20 past gigs (latest first), with the total of each and a shortcut to New gig here. With none, it reads “No past gigs here.”Files
Files holds documents for the venue, such as riders, insurance certificates, and site plans. “Files are private to your organization and shared across every gig at this venue.” Each file can be up to 100 MB. Owners and admins can mark a file admin-only, which hides it from everyone else. Two pickers mark special files: Load-in map and Stage plot. Choose None to clear one.- Load-in map prints on the gig’s call sheet and day sheet. A PNG, JPEG or WEBP image of 5 MB or less prints as a picture. Any other file, such as a PDF, prints its file name only. An image over 5 MB doesn’t print.
- Stage plot marks the file for your team. It doesn’t print on the call sheet, the day sheet or any other document.
Fill blanks from the web
Fill from web researches the venue online and proposes values. While it runs, it reads Researching this venue… (“this can take up to a minute”). When it’s done, choose Review web research. Proposals come in two groups:- Details: apply the ones you want, one by one.
- Stages: add the stages it found.
- Your organization can run Fill from web 25 times a day, across all venues.
- Running it again on the same venue within 24 hours, with the same name, address and website, shows the earlier results instead of researching again.
- One run per venue at a time.
Find photos
Find photos searches photos people posted in Google Maps reviews and on TikTok, and shows up to 60. Save one as the Venue photo, or as a photo on a key spot. See Key spots. The gig’s Venue tab has a related Venue intelligence panel for managers, with Research venue. See The gig Venue tab.Claim your directory listing
If you run a venue that’s in Soundcheck’s public directory, you can claim its listing and manage the facts the public sees. You need Customers, venues and leads.1
Start the claim
Open the claim link for your listing from the public Soundcheck directory, and sign in. The page reads Claim a directory listing: “Verify that you run this business to manage its public Soundcheck directory listing.”
2
Verify with your work email
Choose Verify with your work email and enter an address at the listing website’s own domain: “Use your work email at the business’s own domain, not a personal mailbox.” Soundcheck emails a 6-digit code.
3
Enter the code
Type the code to finish. Codes expire, and you can request only a few at a time: “Too many codes sent. Try again in an hour.”
4
Edit the public listing
Once verified, edit Public listing details: Venue type, Capacity, Stage size, Dressing rooms, Green room, Load-in, Load-out, Loading dock, Elevator, Parking, House tech, Amenities and Restrictions.
Worked example: fixing a default for good
The venue moved its crew lot from the west lot to the east lot, for every show from now on.- Open the venue record and click Parking under Crew advance. Type East lot, enter from 3rd St and save.
- Every gig at the venue that doesn’t have its own Parking value now shows the new lot.
- Open your upcoming gigs there and check for an old per-show Parking value or show note that now contradicts the default. Remove it.
Related
Stages
The rooms and stages inside this venue.
Key spots
Pinned places with photos and crew notes.