

Why use it
- One list per show. Everything that has to happen for this gig sits in one place, not in a spreadsheet, a group chat and someone’s head.
- Clear owners. Every task can have one assignee, who is notified and sees it in their own task list.
- Dates that mean something. The Overdue filter and badges read due dates in the gig’s time zone, so overdue means overdue where the show is.
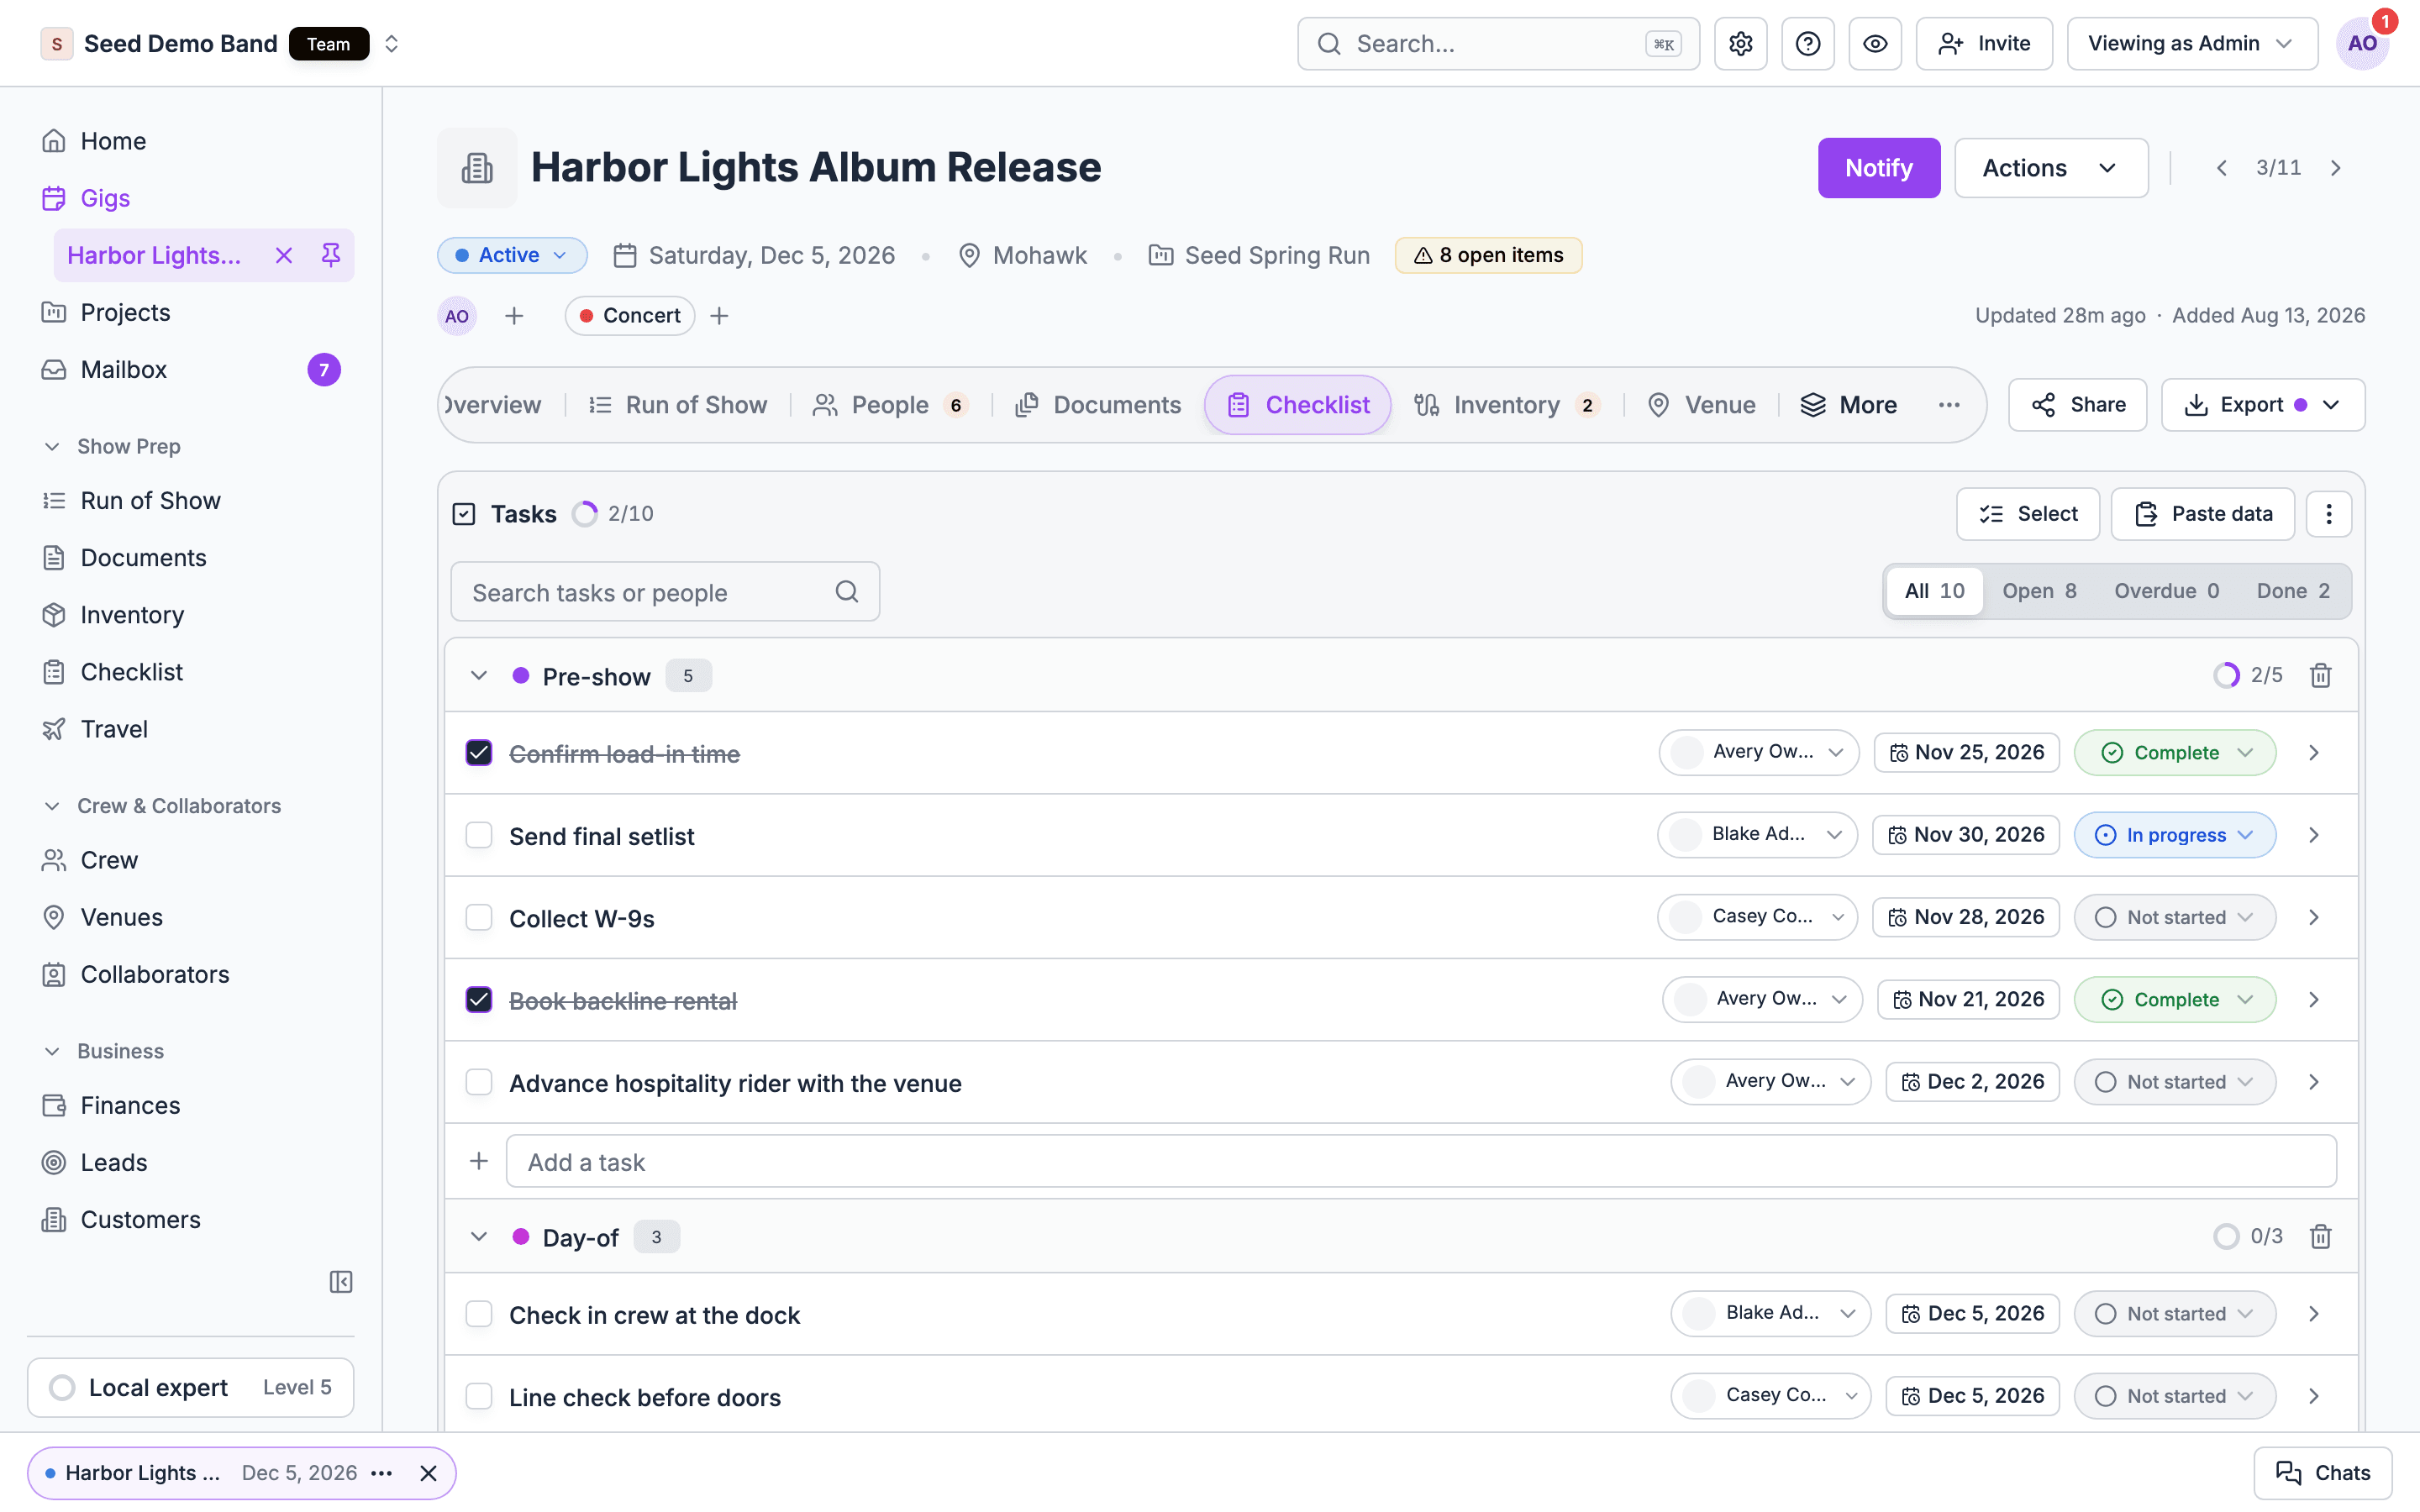
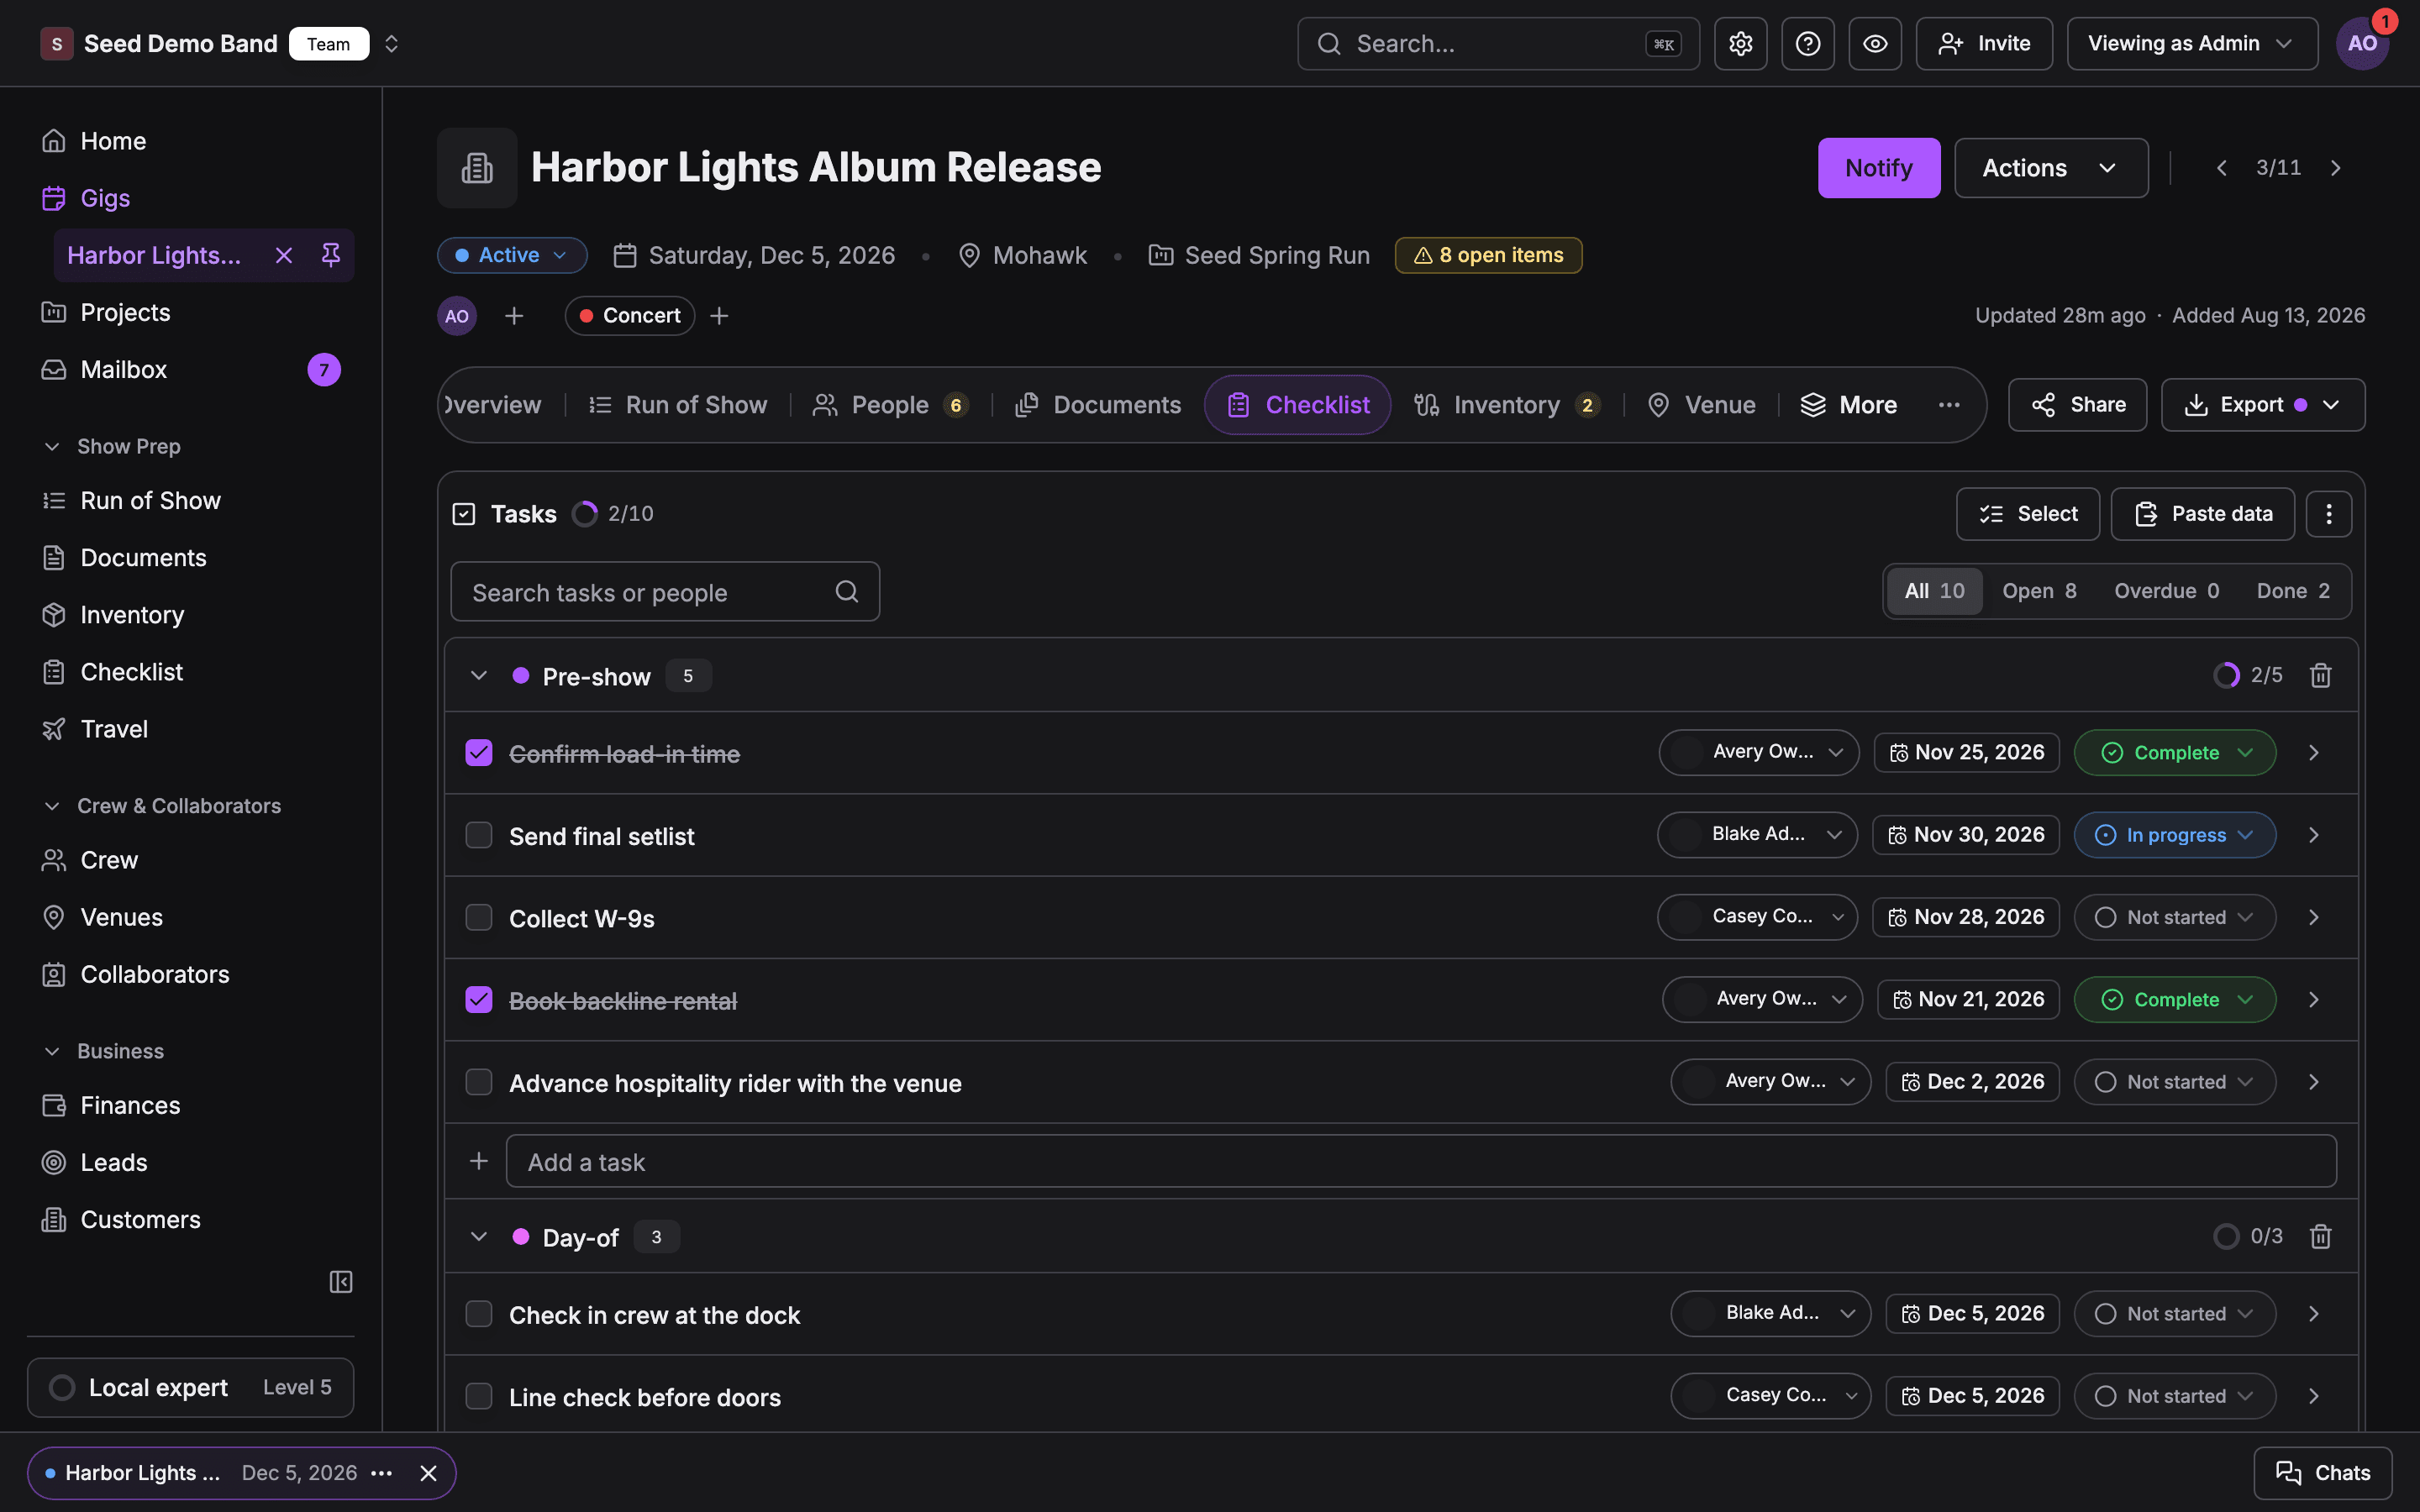
- Progress at a glance. The tab header shows overall completion, and each section has its own ring.
Start a checklist
A gig with no checklist shows a short card with three ways to start.1
Use a template
Choose Use template and pick one of your organization’s checklist templates. Its sections, tasks and notes copy onto the gig, and due dates and owners fill in. A message confirms the gig now has its own copy, and later template edits won’t change it. See Applying a template.
2
Or paste a list
Choose Paste data and paste a to-do list, one job per line. See Paste a list of tasks.
3
Or build from scratch
Type a section name in Add a section to group tasks together and press Enter. Then add tasks under it.
A gig has one checklist. Use template only appears while a gig has no checklist. Once there is one, edit its tasks directly. Applying a template never merges into an existing checklist.
The layout
- The header shows Tasks and an overall completion ring. If you can edit, it also holds Select, Paste data and Task actions (⋯).
- The toolbar holds Search tasks or people and the status filters. It appears once the checklist has at least one task.
- Each section shows its name, how many tasks it holds, a completion ring and, for editors, a delete button. Choose the chevron to collapse or expand it.
- The footer shows a bar of the status mix across every task.
Sections
Sections group tasks into stretches of work, such as Pre-event, Day-of and Post-event. Templates and older pages call them phases.The Other (Uncategorized) section
Tasks that don’t belong to any named section sit in a catch-all section. It’s called Other when you create it on the web, and Uncategorized when Soundcheck creates it, for example for close-out tasks or collaborator requests. A checklist export calls it Other tasks. All three names mean the same section, and it works the same either way. When it’s the only section, or it’s empty, its header is hidden and its tasks show as a plain list. The catch-all section can’t be renamed or deleted. Close-out and collaborator request automatic tasks land here.Moving tasks between sections
The web checklist doesn’t move a task to another section, and it doesn’t reorder tasks or sections. To move a task, use Edit tasks and Move in the mobile app, or delete the task on the web and add it again under the other section.Tasks
Each task row shows, from left to right: the checkbox, the title, an Auto badge if Soundcheck created it, a notes icon if it has notes, the assignee, a time window for run of show and act seat tasks, the due date, the status, and a chevron to expand it. The mobile app’s gig checklist shows neither the time window nor the Auto badge.Add a task
Type in Add a task at the bottom of a section and press Enter. The field clears and stays ready, so you can add the next task straight away. A new task starts as Not started, with no assignee and no due date.Rename a task
Click the title, type, and press Enter. Escape cancels.Set the status
There are three statuses:
Tick the checkbox to mark a task Complete, and untick it to put it back to Not started. To pick In progress, use the status control on the row.
Assign a task
Choose the assignee control on the row and pick an organization member, or Unassigned to clear it. A task has one assignee at a time. Assigning is a hand-off. The person gets a notification and the task appears on their Tasks tab. Assigning a task to yourself doesn’t notify you.Set a due date
Choose the due date on the row and pick a day in the calendar. Clear due date removes it. Due dates are badged:- Overdue: red. The due date has passed and the task isn’t complete.
- Today: amber. The task is due today.
Due dates stay where you put them. Rescheduling the gig doesn’t move its task due dates. After you change a gig’s date, choose Select, tick the dated tasks and shift them with Due date. See Changing several tasks at once.
Notes, labels and deleting
Choose the chevron at the end of a task’s row to expand it. There you can:- Type in Add notes. Notes save when you click away.
- Add or remove the task’s labels.
- Choose Delete task and confirm.
Run of show tasks
A task created by a Run of Show assignment or for an act seat also shows its time on its row, such as 5:30 PM – 6:00 PM, From 5:30 PM or Until 6:00 PM. Soundcheck keeps its title and time in step with the run of show. You can’t edit the time on the task; change the run of show item instead. The time window is shown in your device’s time zone, not the gig’s. Keep that in mind when you plan a show in another time zone.Search and filter
Use Search tasks or people to narrow the list. It matches a task’s title, its notes and its assignee’s name. The status filters show a count each:
If nothing matches, choose Clear filters. While a search or filter is on, the field to add a section is hidden.
Paste a list of tasks
Already have the list in a spreadsheet, an email or a doc? Choose Paste data and paste it. One job per line works best, with owners and due dates if you have them. Soundcheck reads the text and shows you what it found before anything is added. When you accept it:- Each line with a task name becomes a task. A line with no task name is skipped, and Soundcheck tells you how many were skipped.
- A group heading in the pasted text puts its tasks in the section with the same name, or in a new section with that name.
- Tasks without a heading go in the last section, or in a new Other section on an empty checklist.
- A due date is kept when Soundcheck can read it as a date.
- A person’s name or email isn’t matched to a member. It’s kept in the task’s notes as Assignee from the paste: …, so you can assign the task yourself.
Task actions
Open Task actions (⋯) in the header for:- Save as template: save this checklist’s sections, task titles and notes as a new template. Owners, admins and Gig Coordinators can save. See Save a gig’s tasks as a template.
- Manage checklist templates: open the template library. Owners and admins only.
- Delete: remove the whole checklist from this gig.
Changing several tasks at once
Choose Select to tick several tasks and change them together. See Changing several tasks at once.When someone else edits at the same time
Each change saves on its own as soon as you make it. If someone else changed the checklist since you loaded it, Soundcheck reloads the latest list and asks you to try your change again.Exporting
The gig’s Export menu offers Export Checklist…, which exports the checklist as a PDF or CSV. See The export hub.Related
Checklist overview
The ideas and a first walkthrough.
Templates
Start every gig from a saved list.
Troubleshooting
When something doesn’t look right.