

What you can bring over
Product path (desktop)
Product UI in this guide is limited to the web portal download page, desktop login, desktop dashboard (gear in header), and the Linux Personnel save dialog. Eventric help-center article screenshots are not published here as product UI. Use the official help links instead.1. Download Master Tour 3 from the web portal
Sign in to the Eventric web portal and download Master Tour 3 (Linux trial shown here is v3.11.0; MacOS and Windows are also offered). There is no CSV export on the web.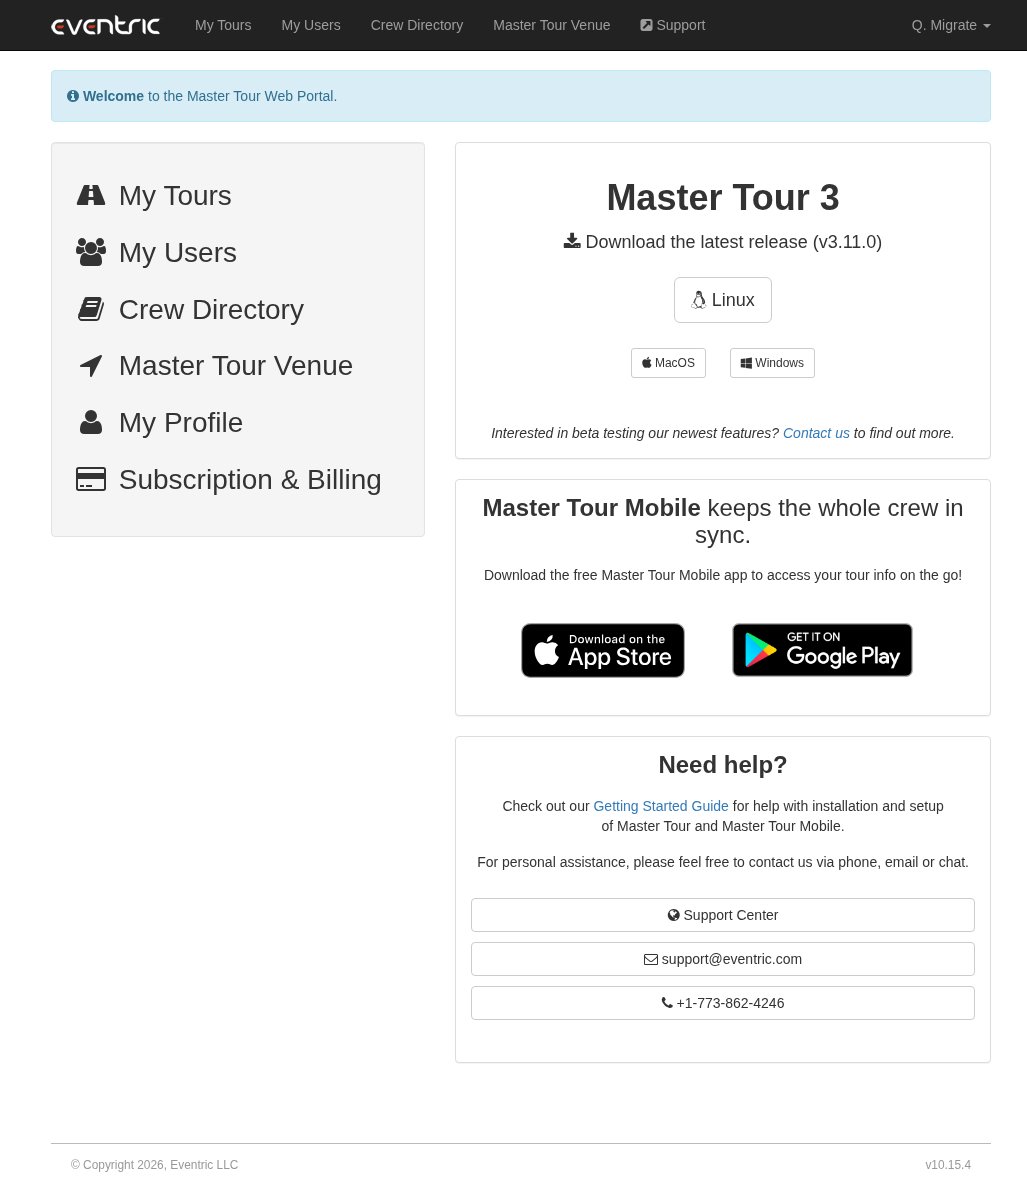
Master Tour web portal: download Master Tour 3 (v3.11.0) for Linux / MacOS / Windows; no web CSV export
2. Sign in to the desktop app
Launch Master Tour 3.11.0 and sign in with your Eventric account.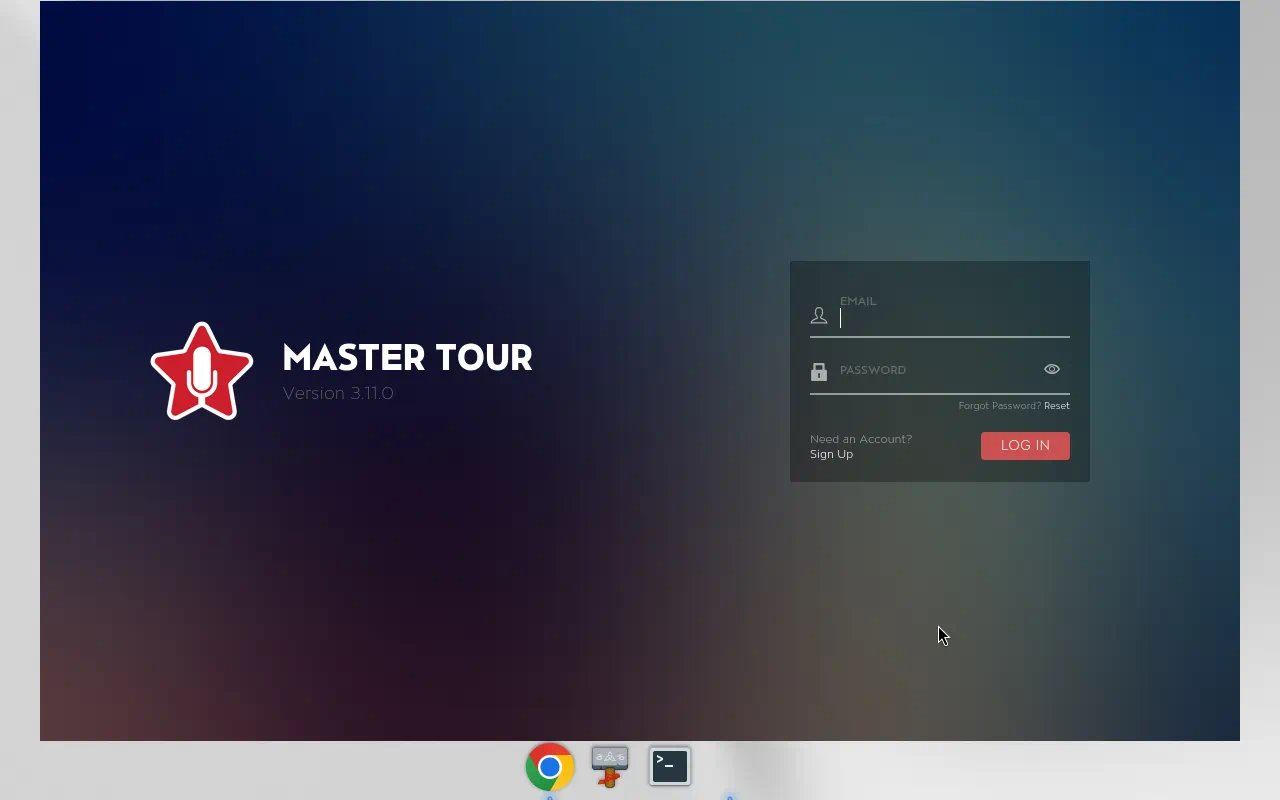
Master Tour 3.11.0 desktop login
3. Open your org and tour
After setup, you land on the desktop dashboard for your organization and tour. The gear icon in the header opens org/tour tools, including Personnel export. On Linux there is no File menu bar.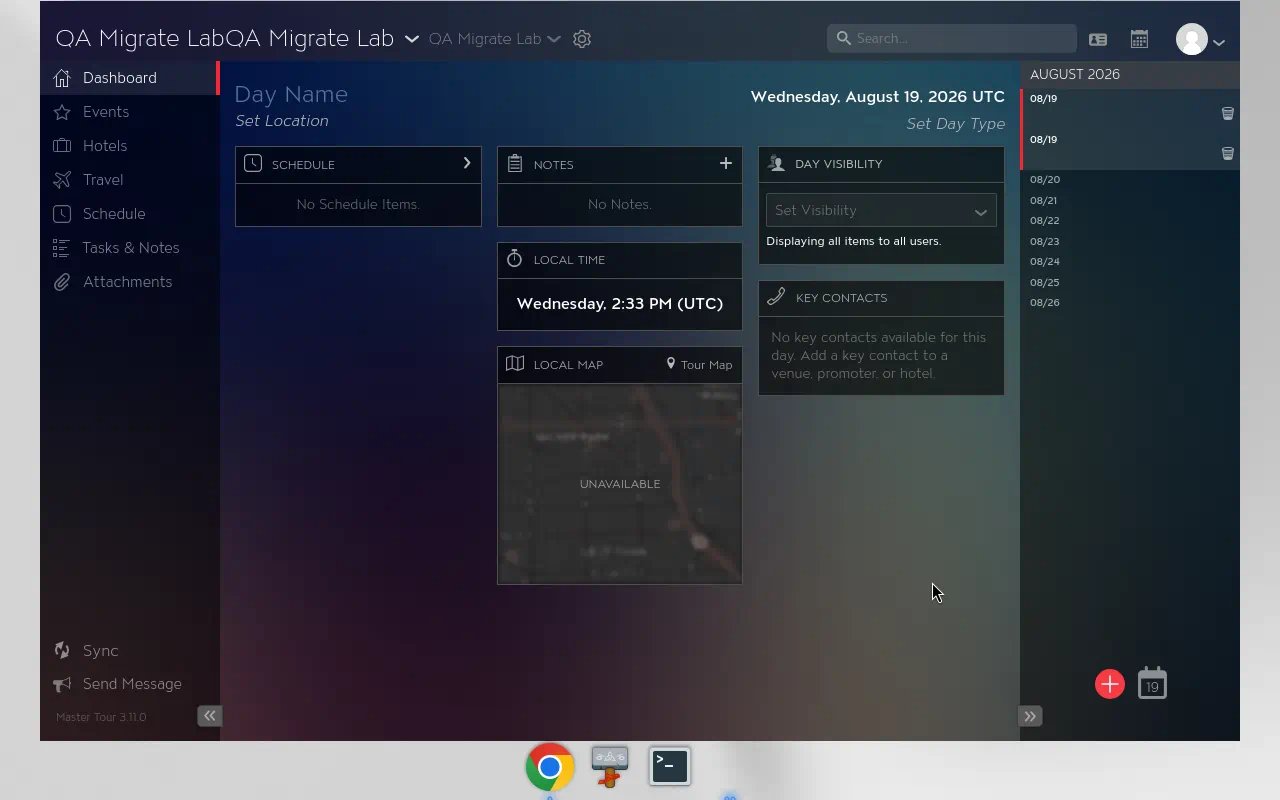
Master Tour 3.11.0 desktop dashboard after org and tour (gear in header; Linux has no File menu)
4. Export Personnel CSV (crew)
Primary roster path (verified on Linux):- Select your Organization and Tour.
- Click the Gear icon in the header.
- Open Personnel.
- Click Export Personnel and save the CSV.
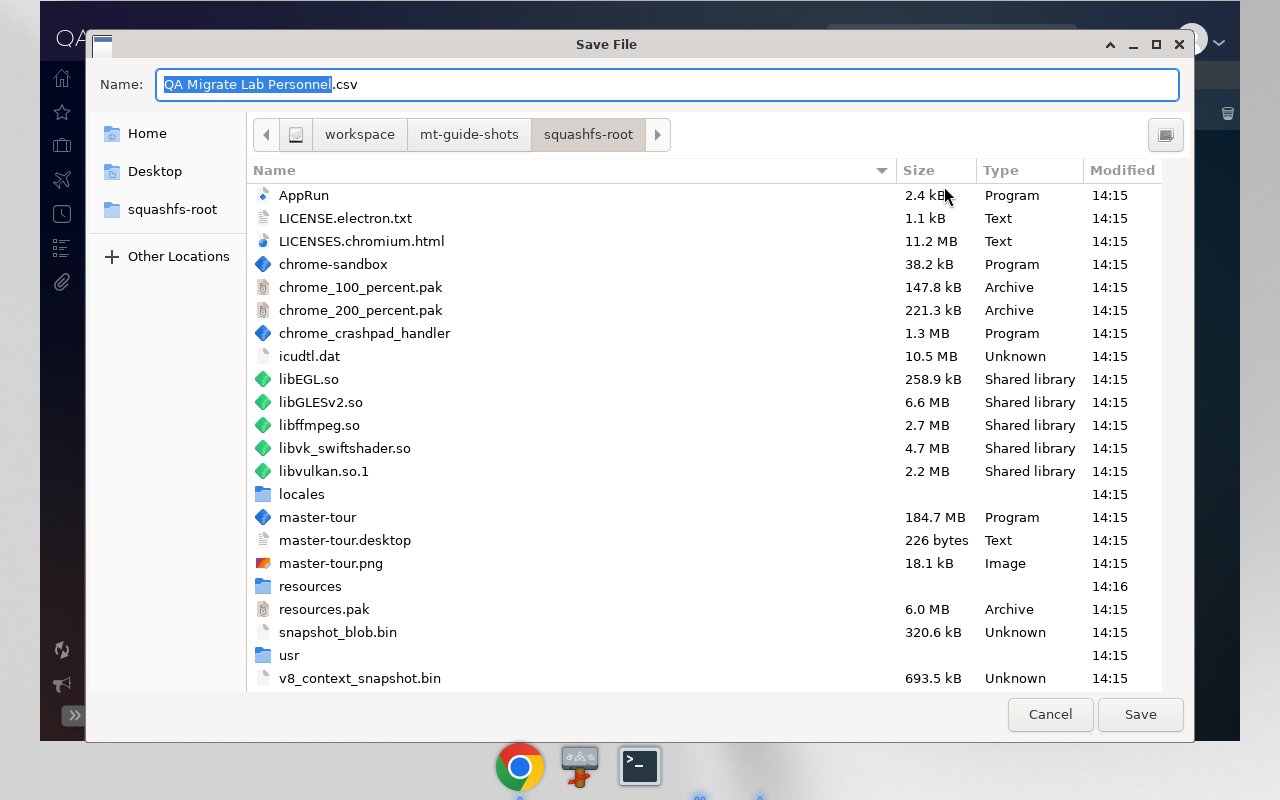
Linux Save File dialog after Gear → Personnel → Export Personnel
Map Personnel into Crew
For import, map at least:- Last Name → Crew last name
- First Name → Crew first name
- Role → Crew position
- Phone → Crew invite phone
- Email → Crew invite email (required)
external_id column in the spreadsheet wizard today.
Users CSV / vCard (secondary people export)
Eventric also documents a Users export (CSV / vCard): How to Export Users. Treat that as a secondary people export only. Do not replace Gear → Personnel → Export Personnel as the verified crew path for this guide.Tour Details CSV (events / venues / promoters)
Official path (Eventric help): File → Export → Export Tour Details As CSV, then set From / To dates and save. Official help: How to Export Tour Details. That page names Dates, Venues, Cities, and Promoters only. It does not publish a column list. Eventric only names those four; do not invent Tour Details columns.- Date range is a gotcha. Confirm the export covers the tour days you intend before you map.
- On Linux, the desktop app still has no File menu bar, so File → Export is not available there. Until you export from Mac or Windows, follow the Eventric help link above.
.xlsx / .csv / .tsv / .txt only. Unknown columns stay unmapped. Do not invent header names for docs or templates.
Recommended zip / sheet layout
Zip the season folder and drop the.zip on Settings → Data & knowledge → Import & export, or drop the files one by one. Imports unzips it in your browser and reads the .xlsx / .csv / .tsv / .txt files, documents, and photos inside, including files in subfolders. Anything else in the zip is left out, and you are told which files were skipped.
Master Tour-specific mapping notes
- Map Personnel to Last Name, First Name, Role, Phone, Email.
- Do not promise CCLI, charts, plan order, or booked-roles coming across.
- Do not invent Tour Details columns beyond Dates / Venues / Cities / Promoters as named areas.
- Touring practice CSVs under
docs/sample-imports/customers/touring-artist/use sample-import headers, not a native Master Tour export. You must map.
Import order
- Crew from Export Personnel CSV (or a sheet rebuilt from the PDF fallback)
- Venues / Clients when you want directory matches before gigs
- Songs / Setlists only if you BYO (not from PDF tour books)
- Events from Tour Details CSV (when you have it from Mac/Windows)
Import path
- Open Settings → Data & knowledge → Import & export. Drop files on the empty state (drop-first). Review detected targets, map columns (especially Email on Crew), preview, commit.
- Save a mapping template once Personnel (and later Tour Details) headers are mapped.
- After commit: open Gigs, ask people to accept invitations, spot-check venues / clients, re-import once (expect 0 new rows).
Practice samples
Touring-artist practice files:docs/sample-imports/customers/touring-artist/ (tour personnel, routing, setlist).
These are sample-shaped files for practice, not a Master Tour native export drop-in. Map columns; do not treat them as Eventric output.
Related
Coming from another system
Hub for Planning Center, Back On Stage, Master Tour, Stagera, and LASSO / Shoflo
Operator data imports
Imports wizard, targets, and permissions