

New here?
If you haven’t created an account and org yet, start with Signup and organization setup.
Where settings live
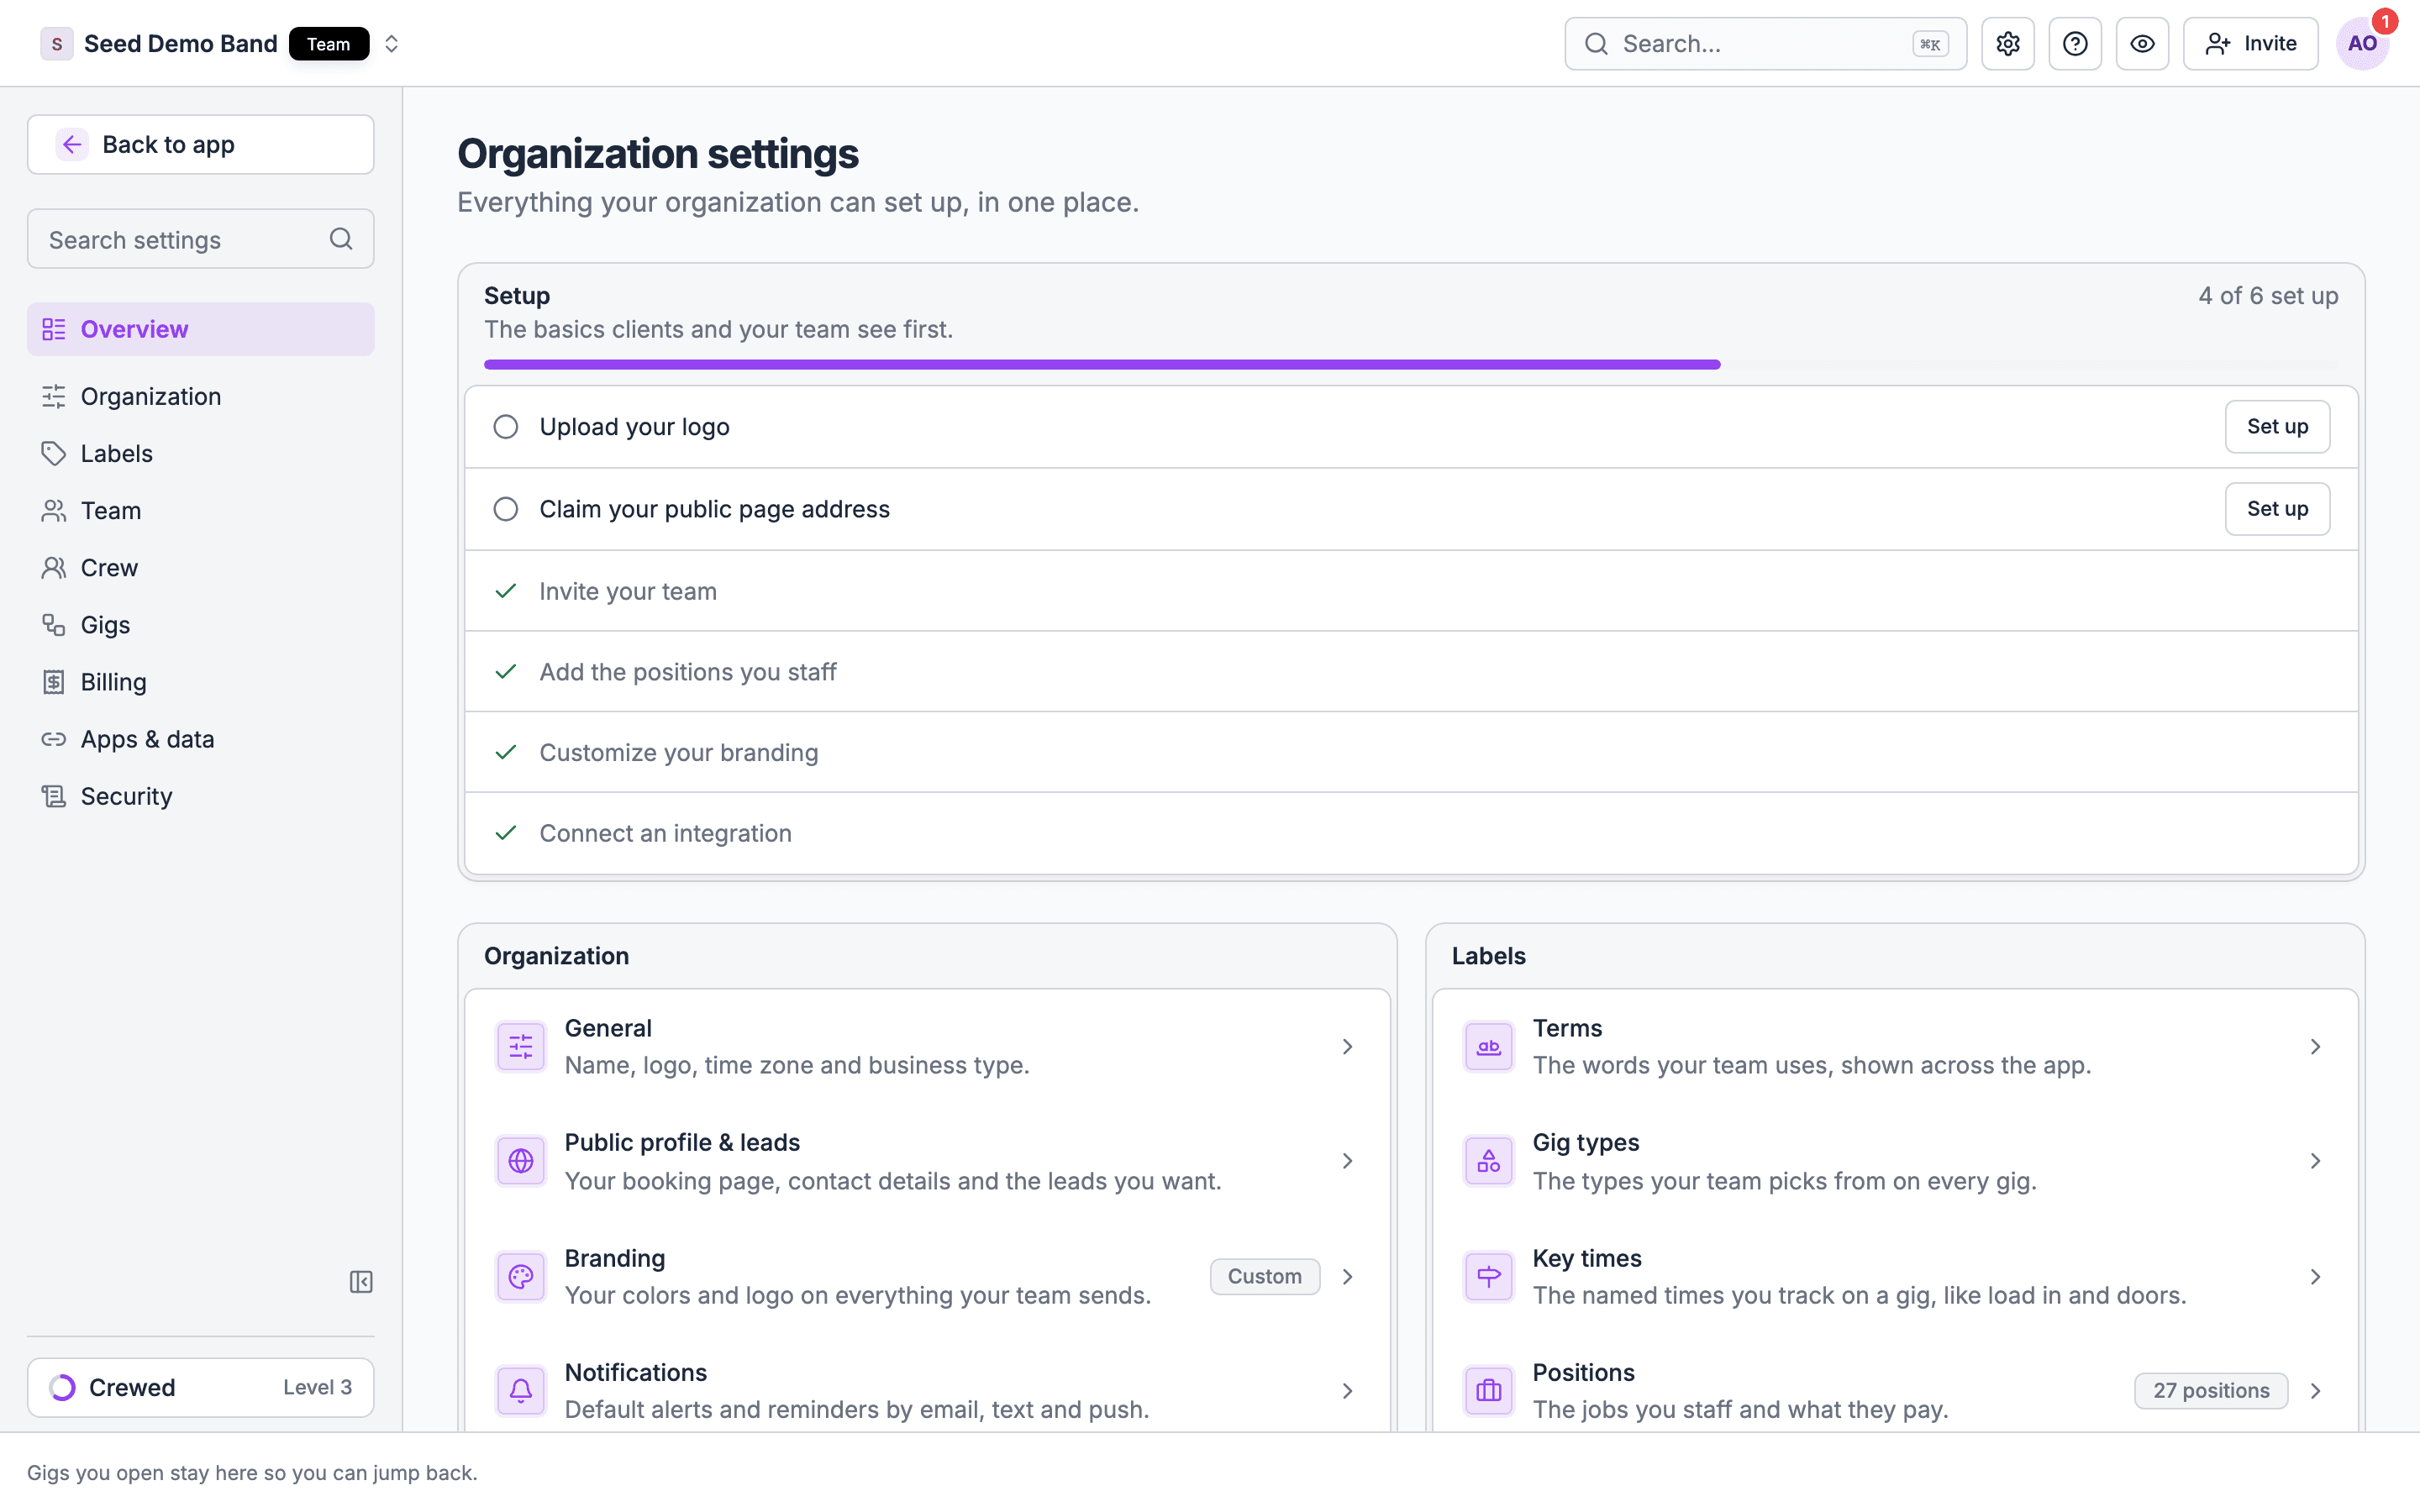
Owners and admins open Settings from the gear icon in the header, next to page search. On a phone, open your avatar menu and choose Workspace settings. The settings sidebar has one row per group. Each row opens one page with a tab for each setting in the group:
Selecting a row opens the first tab you can open. Under Labels, the Gigs, Departments and Catalogs tabs each show a second row to switch between their lists. The Gigs tab uses your organization’s word for gigs, so a venue sees Events. The Departments tab holds your departments under All departments, then the settings they share: positions, crew records and onboarding apply to every department. Some tabs appear only when an early-access feature is on for your organization. Each tab keeps its own web address, so links to a settings page still work.
A tab that needs a higher plan shows a plan chip next to its name. When every tab in a group needs a higher plan, the chip shows on the sidebar row.
Acts (the bands, DJs and performers you book, and their songs) has no row or tab. Open it from the links on a gig’s staffing panel or a song’s acts field.
Find a setting
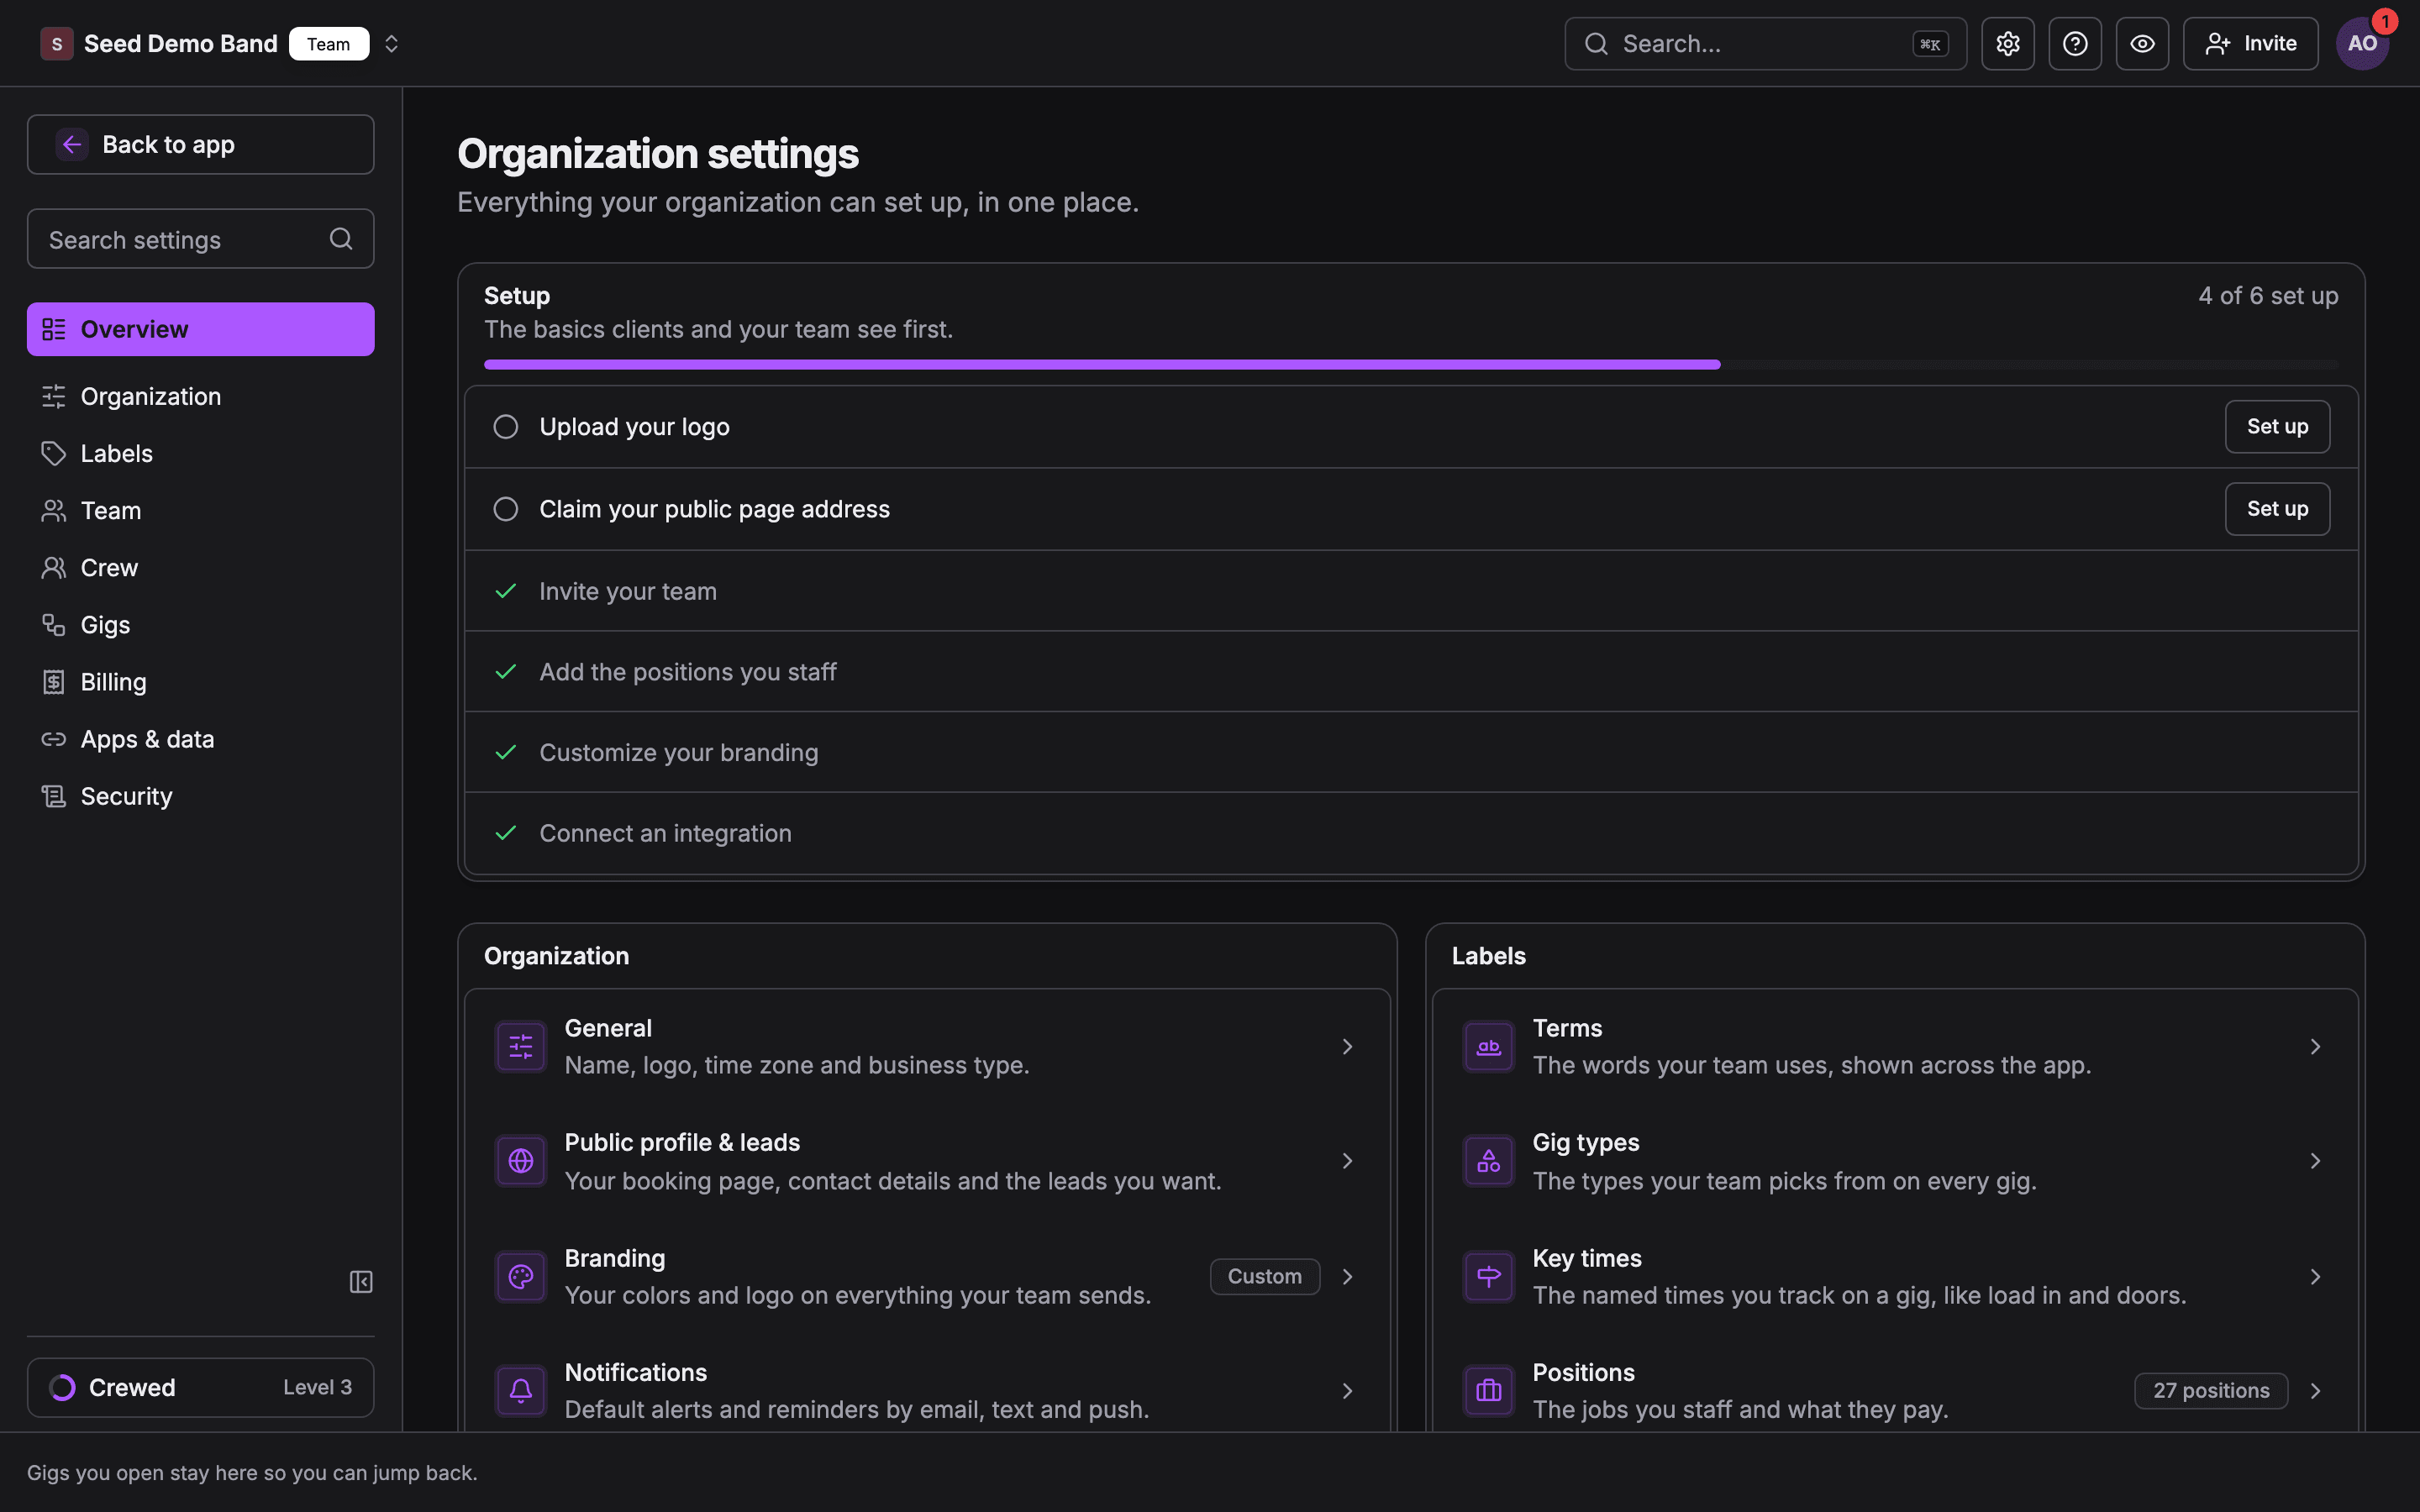
Overview, at the top of the sidebar, opens Organization settings: every page in one place, grouped as in the sidebar, with a short description and a status such as your plan or staff count. Its Setup checklist tracks the basics clients and your team see first, such as uploading your logo, claiming your public page address, inviting your team and adding positions. Choose Set up on any item that isn’t done.View-only settings
People who manage gigs but can’t change organization settings, such as Gig Coordinators, can still open some pages to read them: Notifications, Gig types, Key times, Tags, Positions, Inventory and, where departments are on, All departments. On Gig workflow they see only the Close-out card; the run of show, time clock and Upgrades blocks show to Owners and Admins only. Finance can read Budget. Those tabs are marked view only, and the page says who can change them. Gig Coordinators can also edit Song types, the one Labels page they can change. See Settings by role.Your personal settings live under your avatar menu → My Settings: Appearance, your forwarding address and your own notification preferences. Calendar sync lives on My Schedule. Owners and Admins manage org-wide notification defaults under Settings → Notifications, not from org Mailbox shortcuts. Subscription billing lives under Settings → Billing → Plan, not Settings → Subscription.
Basic information
1
Set your name and logo
Your organization name and logo show up on invitations, member-facing emails, and your public booking page. Upload a logo if you want them looking polished.
2
Set the timezone
New organizations start with the creator’s timezone, or UTC if that cannot be resolved. If that first save misses, Soundcheck retries after you land in the app without blocking signup and fills a timezone that is still unset. Change it on the General page if the org works in a different zone, including UTC. Timezone cannot be cleared; UTC is the way to keep Coordinated Universal Time. Event times fall back to this zone when a gig has no timezone of its own.
3
Add contact details
Used on member-facing communications and your booking page.
Deleting your organization
Only the Owner can delete the organization, from the Danger zone at the bottom of the General page. Deletion is scheduled 30 days out. Every gig, crew record, file, and ledger entry is then permanently deleted. Billing pauses until then, and the Owner can choose Restore organization at any time before the date.Positions
Define the roles you staff for (Lead Vocals, FOH Engineer, Tour Manager) once at the org level so the same names show up on every gig, saved team preset, and onboarding flow. Open Settings → Labels → Departments → Positions. The Teams page is for roster templates (+ New template), not the position catalog.Positions
Create and manage the position catalog.
Onboarding
Decide what new members complete when they join. Steps can collect profile details, positions, custom fields, and documents. Open Settings → Labels → Departments → Onboarding.Custom onboarding flows
Build the step-by-step flow, from a template or from scratch.
Phone verification
An onboarding form can require phone verification. When a phone field is required, the member verifies the number (via SMS) before continuing; optional phone fields can be skipped. Next to the phone field, members can tick an optional box to agree to receive gig text messages. It never starts checked, and finishing onboarding never depends on it.Each onboarding form step supports a single phone-verification field.
Positions step
Add a Positions step so members select the roles they can fill. They choose from your active position catalog, and Soundcheck saves those to their member profile. Create the positions first so the step has the right choices.Manual-onboarded override
Mark an experienced member onboarded without forcing every step.
Departments
The Departments page lets you group members into bands or departments within a single organization. Handy if you run several acts under one roof, or want to manage your audio, lighting and stage crews separately. Departments are in early access and rolling out; contact info@soundchecklive.io to turn them on. Once on, they’re on every plan. A new organization starts with two departments that fit its business type: Audio and Lighting for a production company, Audio and Stage for a venue, Performers and Management for talent. An organization that already has departments keeps exactly what it has, and changing your business type later does not add or remove any. On every plan, admins can choose who is in each department. Adding, renaming, recoloring, retiring and deleting departments needs the Team plan or higher, or an organization on a free trial. Below Team, All departments is a read-only list with an upgrade prompt. Departments added during a trial stay after it ends, read-only. The Add the rest of the starter departments card (it uses your word for departments) lists the starter departments for your business type that you don’t have yet. On Team and up, or on a trial, choose Add all or Add on one row. Below Team the rows show with a Team plan chip and can’t be added. A starter counts as present when its name or short code is already in use, including retired departments, so renaming one doesn’t bring it back. The card hides once nothing is left to add.Branding, email and notifications
The Organization row holds Branding and, where enabled, Email. Together they cover your colors and logo, sending domains, your forwarding address, and team sign-up. Notifications is its own sidebar row: the org-wide defaults for how members hear about invitations, crew offers, availability checks, chat, gig changes and form responses. They do not include the public booking form link or embed code. Those live in the Public booking form card on the Offerings page. See Lead intake.Email sending domains
Verified sending, your forwarding address, and team sign-up.
Knowledge base and audit log
Knowledge base (early access) is a tab in the Apps & data row. Audit log, your organization’s audit trail, is a tab in the Security row. Import & export (early access) is a tab in the Apps & data row.Knowledge base
How your business works, for your agents
Audit log
Who changed what, from where, and when
Connections and finance
Integrations live under Settings → Apps & data → Integrations: “Connect the systems your team relies on, including event platforms, cloud storage and financial tools.”Connect QuickBooks, HubSpot, and Flex Rental Solutions from this page. Cards show even when nothing is connected yet. See Integrations overview for what’s available today.
Gig payments
How member payouts work once your financial connection is set up.
CRM integrations
Deeper data sync (HubSpot ↔ Flex, portal forms) for teams that need it.
Multi-organization
You can belong to several organizations: multiple bands, several acts, or both performer and crew hats.- Use the workspace switcher in the top bar (on mobile, Switch organization) to switch; all data switches with it.
- Each org has its own gigs, setlists, positions, settings, and subscription.
- Your role can differ in each org.
- Data is fully isolated. Members of one org never see another’s data, even if the same person belongs to both.
Setup checklist
1
General
Name, logo and timezone on General, and contact details on Public profile.
2
Positions
Create the roles you staff for.
3
Onboarding
Decide what new members complete on join.
4
Invite your core team
Owners/admins first, then regular members. Mind your seat limit.
5
Apps & data
Review integration cards and connect payouts or CRM tools when your org is ready.
6
Create your first gig or import
Add an event, or bulk-load an existing schedule.
Managing your subscription
Owners manage the plan and billing from Settings → Billing → Plan: view the current plan, upgrade or downgrade, and update payment methods. Manage Subscription opens the Stripe customer portal, where your invoices are. Billing is not part of My Settings.Compare plans
Features and seats by tier.
Troubleshooting
I don't see Integrations
I don't see Integrations
Confirm you are an owner or admin and open Settings → Apps & data → Integrations. If the page is missing for your role, ask your account owner.
I don't see All departments
I don't see All departments
All departments is the first tab under Settings → Labels → Departments. It shows only when departments are on for your organization. The Departments tab uses your organization’s word for departments.
Settings won't save
Settings won't save
Confirm you have an owner or admin role, and that you’re viewing the correct organization. A page marked view only can be read but not changed; it names who can change it.
Next steps
Managing members
Roster, seats, and onboarding
Roles & permissions
Who can do what
Positions
The role catalog
Subscription plans
Features by tier
Settings reference
Every setting, its default and who can change it
Settings FAQ
Answers about organization settings
Team FAQ
Answers about members, roles and seats
Related reading
Start and scale an entertainment agency in 2026
Build talent rosters, manage gigs, and scale agency operations.
A smarter way to run music operations
How Soundcheck centralizes gigs, teams, and payments.