

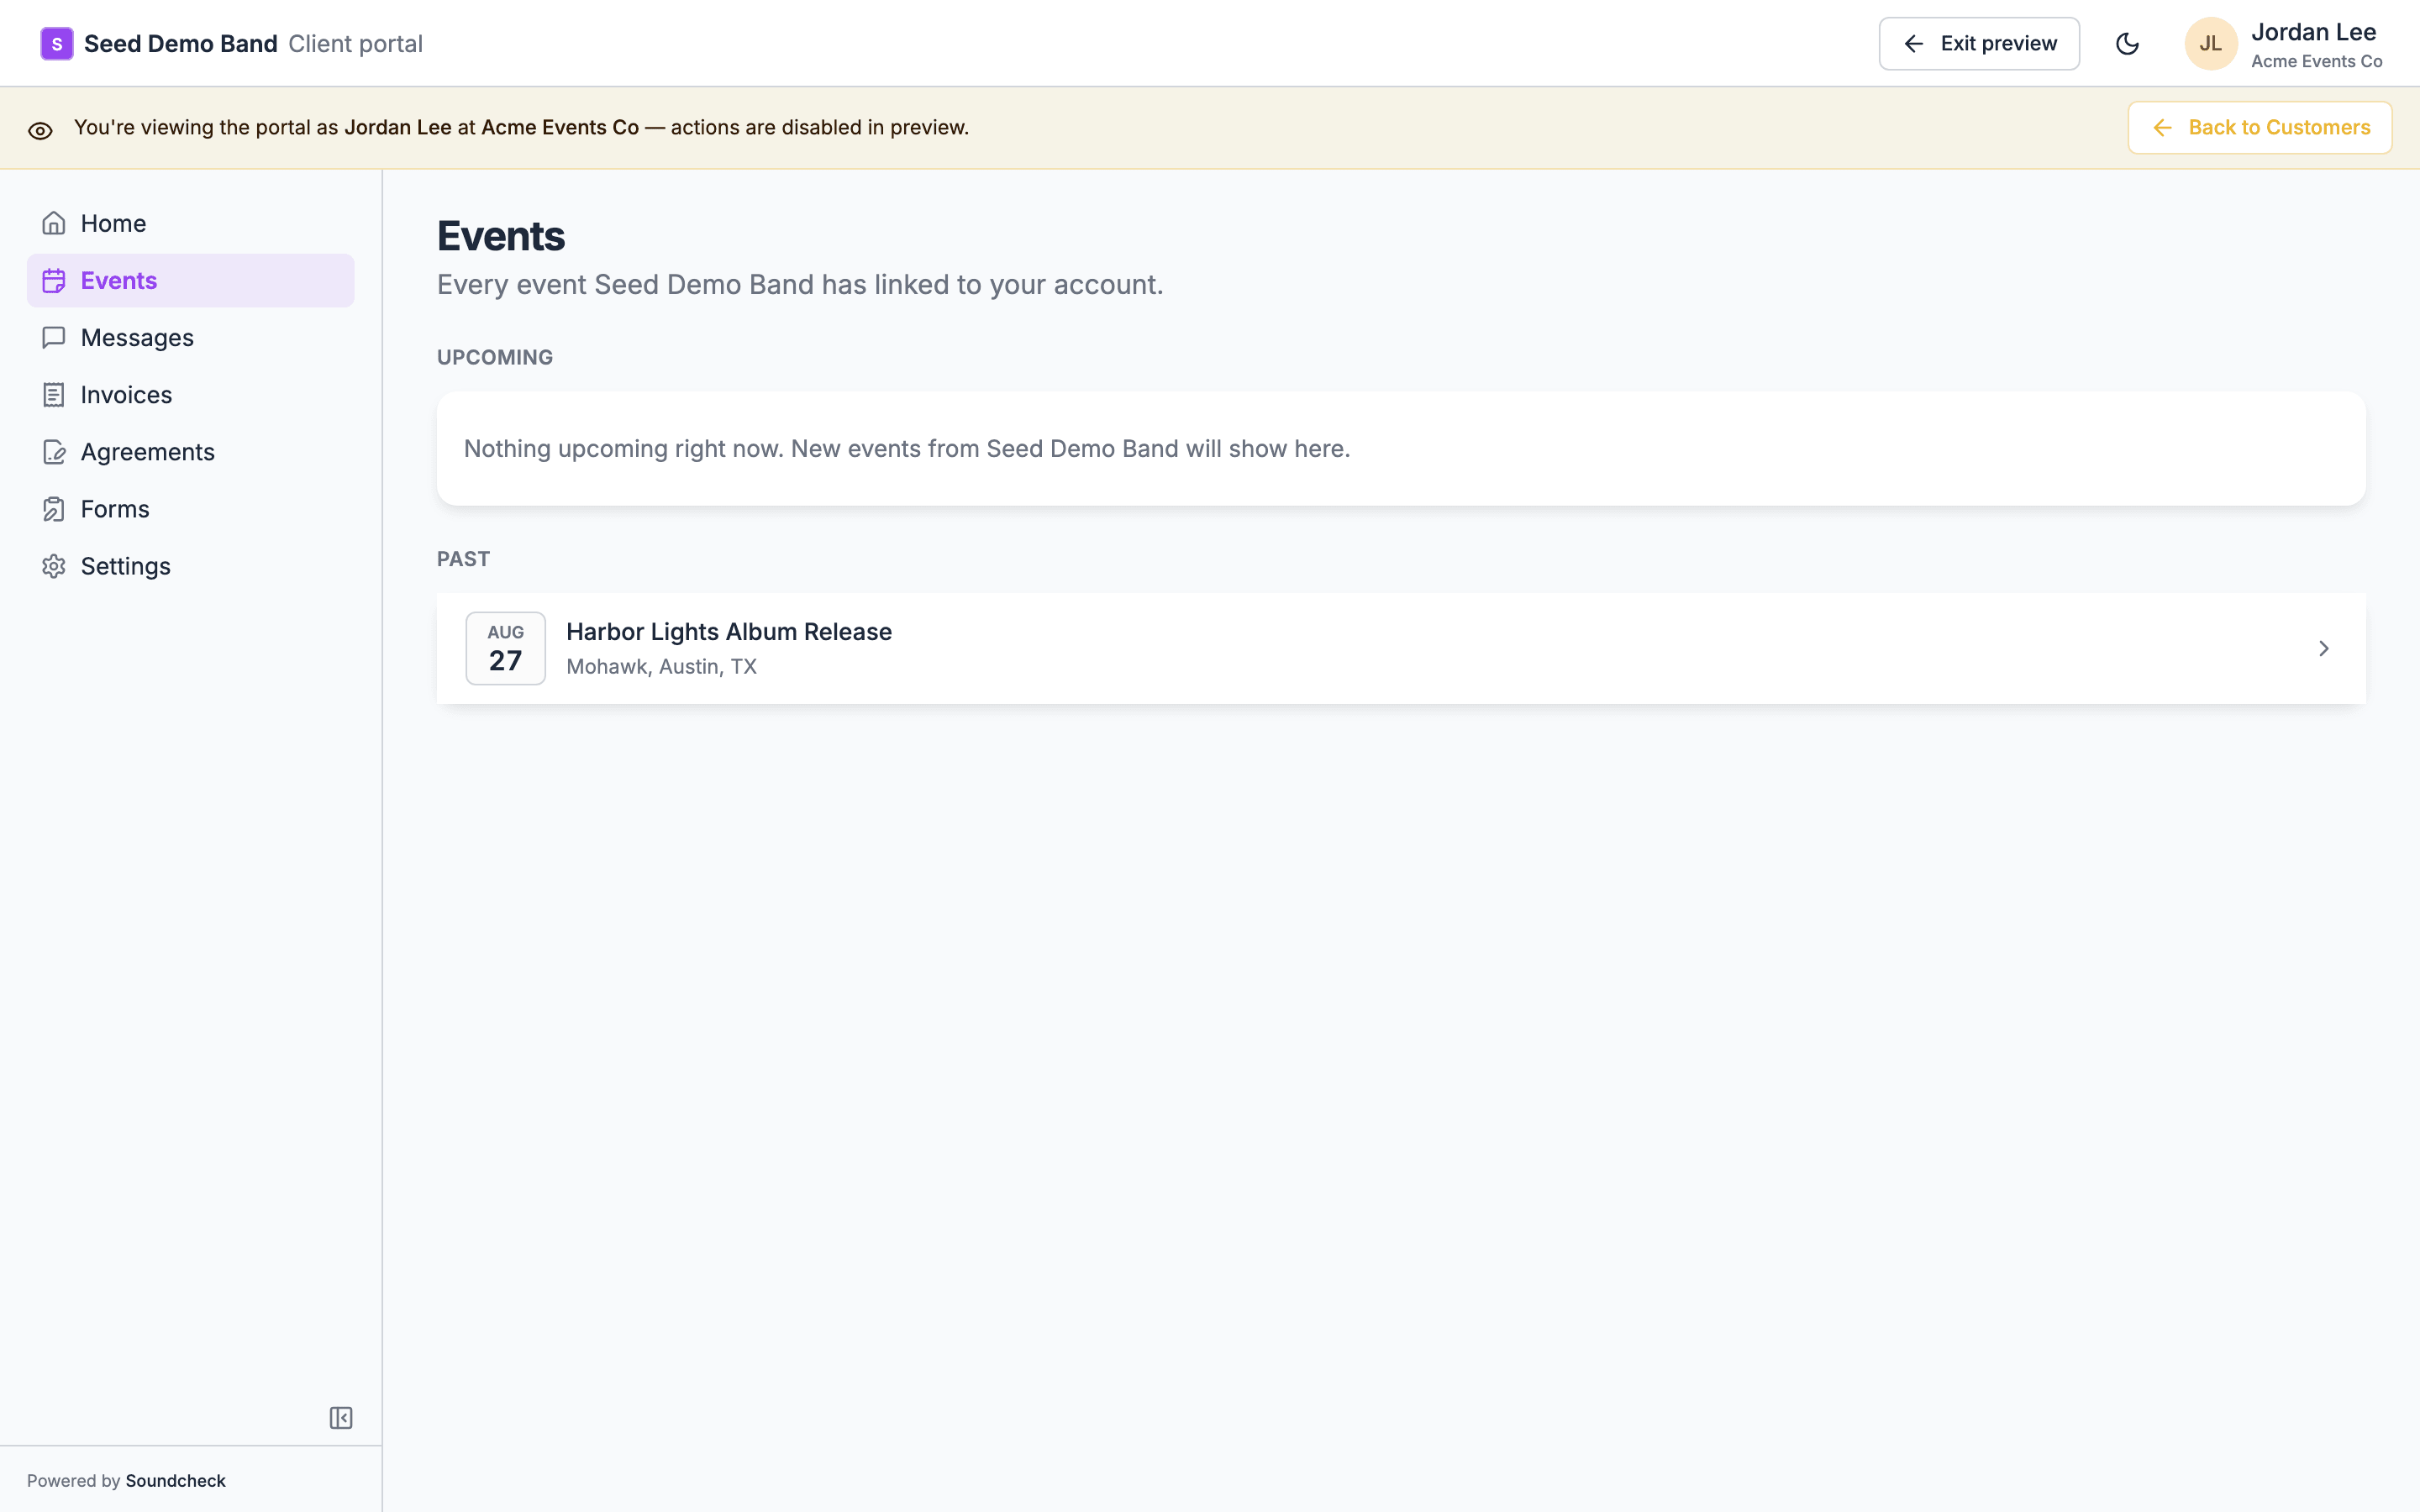
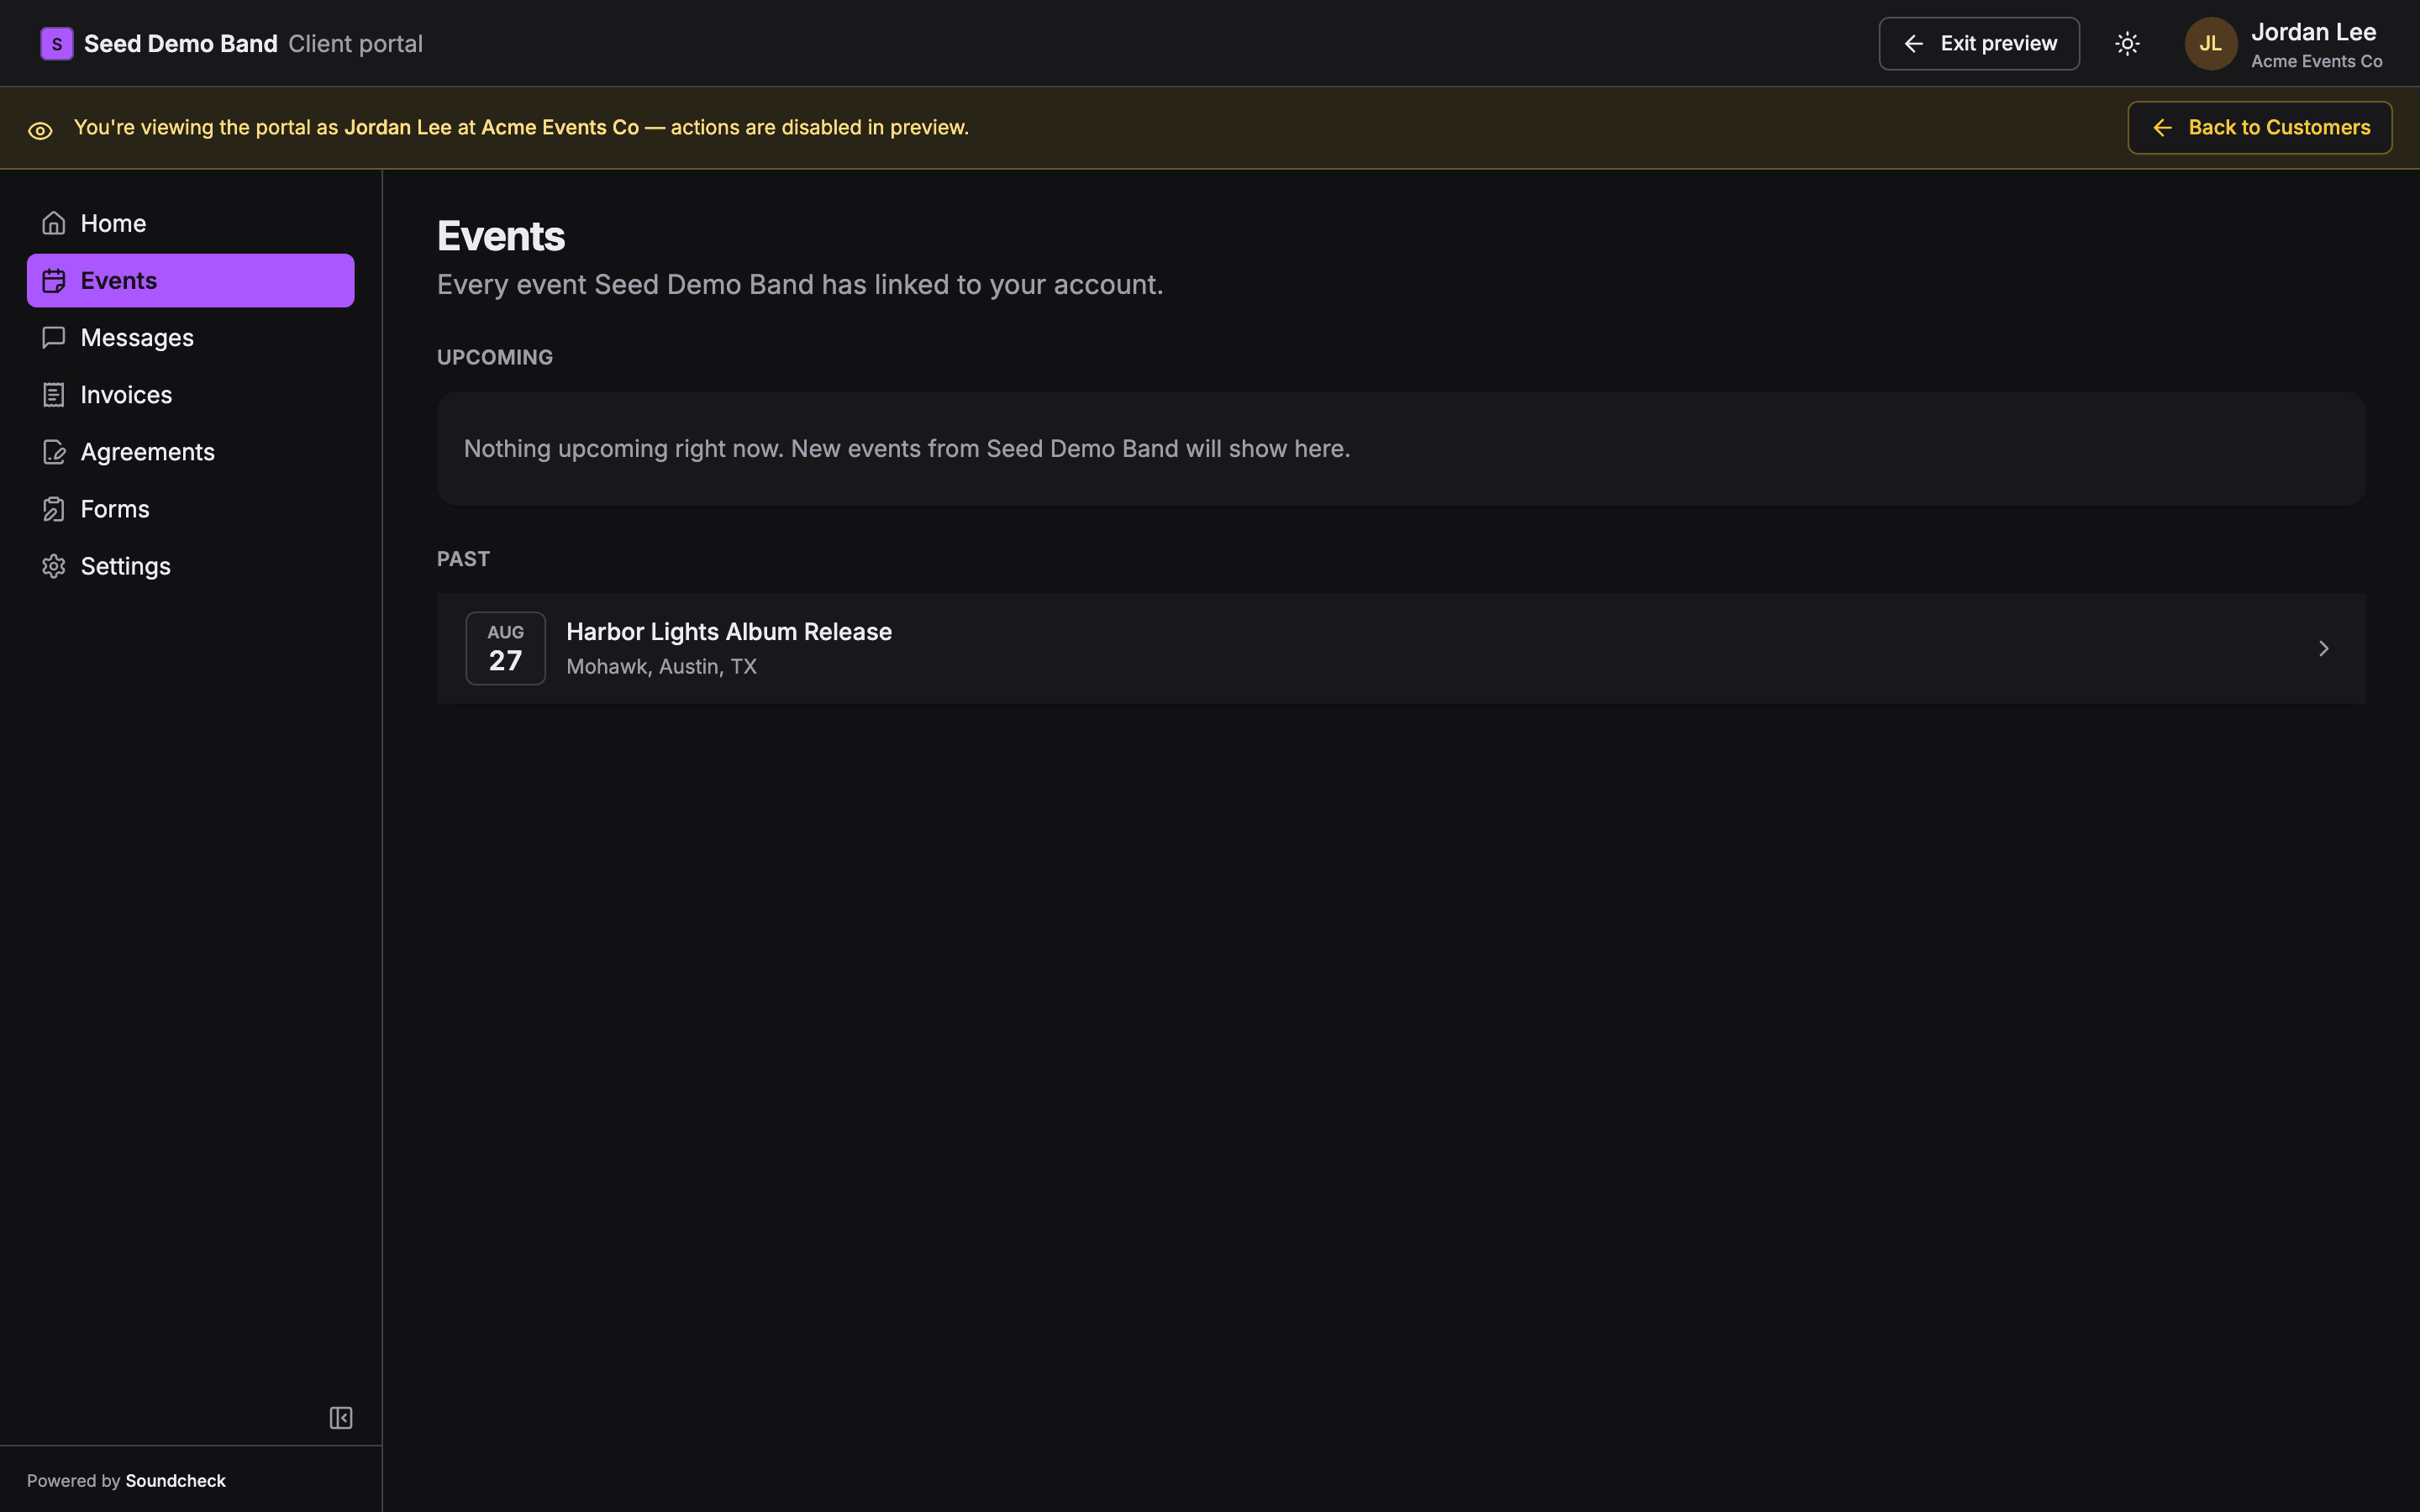
The client portal is in early access, and each organization decides whether to use it. If you haven’t had a portal invite, the organization may still send you agreements, forms and invoices by email. Ask them what to expect.
1. Accept your portal invite
1
Open the invitation email
It comes from the organization working your event, with their name and logo. Replies go to them.
2
Create your sign-in
Follow the link and create your account. Use the email address the invitation was sent to.
3
Land on the portal's Home page
From then on, you see only your own events and what goes with them.
2. What the portal shows
In the portal, gigs are called events. The portal is on the web only; there’s no client portal in the mobile app. See Client portal.
3. Sign agreements and quotes
A contract or quote comes to you as an agreement. You get an email with a Review the agreement button, and the agreement shows under Needs you on the portal’s Home page.- Select Review & sign to read the terms and any attached PDF.
- Enter your full name, draw your signature and check the consent box.
- Select Sign agreement.
4. Fill in forms
Forms, such as a wedding questionnaire or a song request list, appear on Forms and on the event. Select Fill out, answer the questions and submit. You see Response received right away. For a while after you submit, usually until the form’s deadline or the event, you can select Edit answers to change them. See Filling out forms.5. Review documents for your event
On an event’s Documents tab, anything waiting on you is listed first. The organization may send a music schedule or details sheet for your approval. Choose Approve, or Request changes with a note.6. Review and pay invoices
Invoices lists what you owe and what’s settled. The portal doesn’t take payments. Pay the way the invoice email or the organization tells you, such as bank transfer or check. Questions about an amount go to the organization. See Reviewing invoices.7. Follow the event on its live page
Some organizations share a live page for the event. You open it with a link or an 8-character event code, without signing in. It shows the status, the schedule and any updates the organization posts on the night. You can share the link with your guests. See What guests see on the live page.Who to contact
Everything in the portal comes from the organization working your event. Questions about terms, dates, the schedule or an invoice go to them. Replies to their emails reach them, and an event’s Contacts tab lists who to call on show day. The portal’s Messages page isn’t used today, so reach them by email or phone.Related
Client portal
What each part of the portal shows.
Contracts, invoices and forms
Signing, forms and invoices in detail.
Live page
How the public event page works.
Start here
Other starting paths.