> ## Documentation Index
> Fetch the complete documentation index at: https://docs.soundchecklive.io/llms.txt
> Use this file to discover all available pages before exploring further.
# Creating gigs
> Create a gig in Soundcheck — the one required field, optional venue, and multi-day dates — then build it out into a fully staffed event.
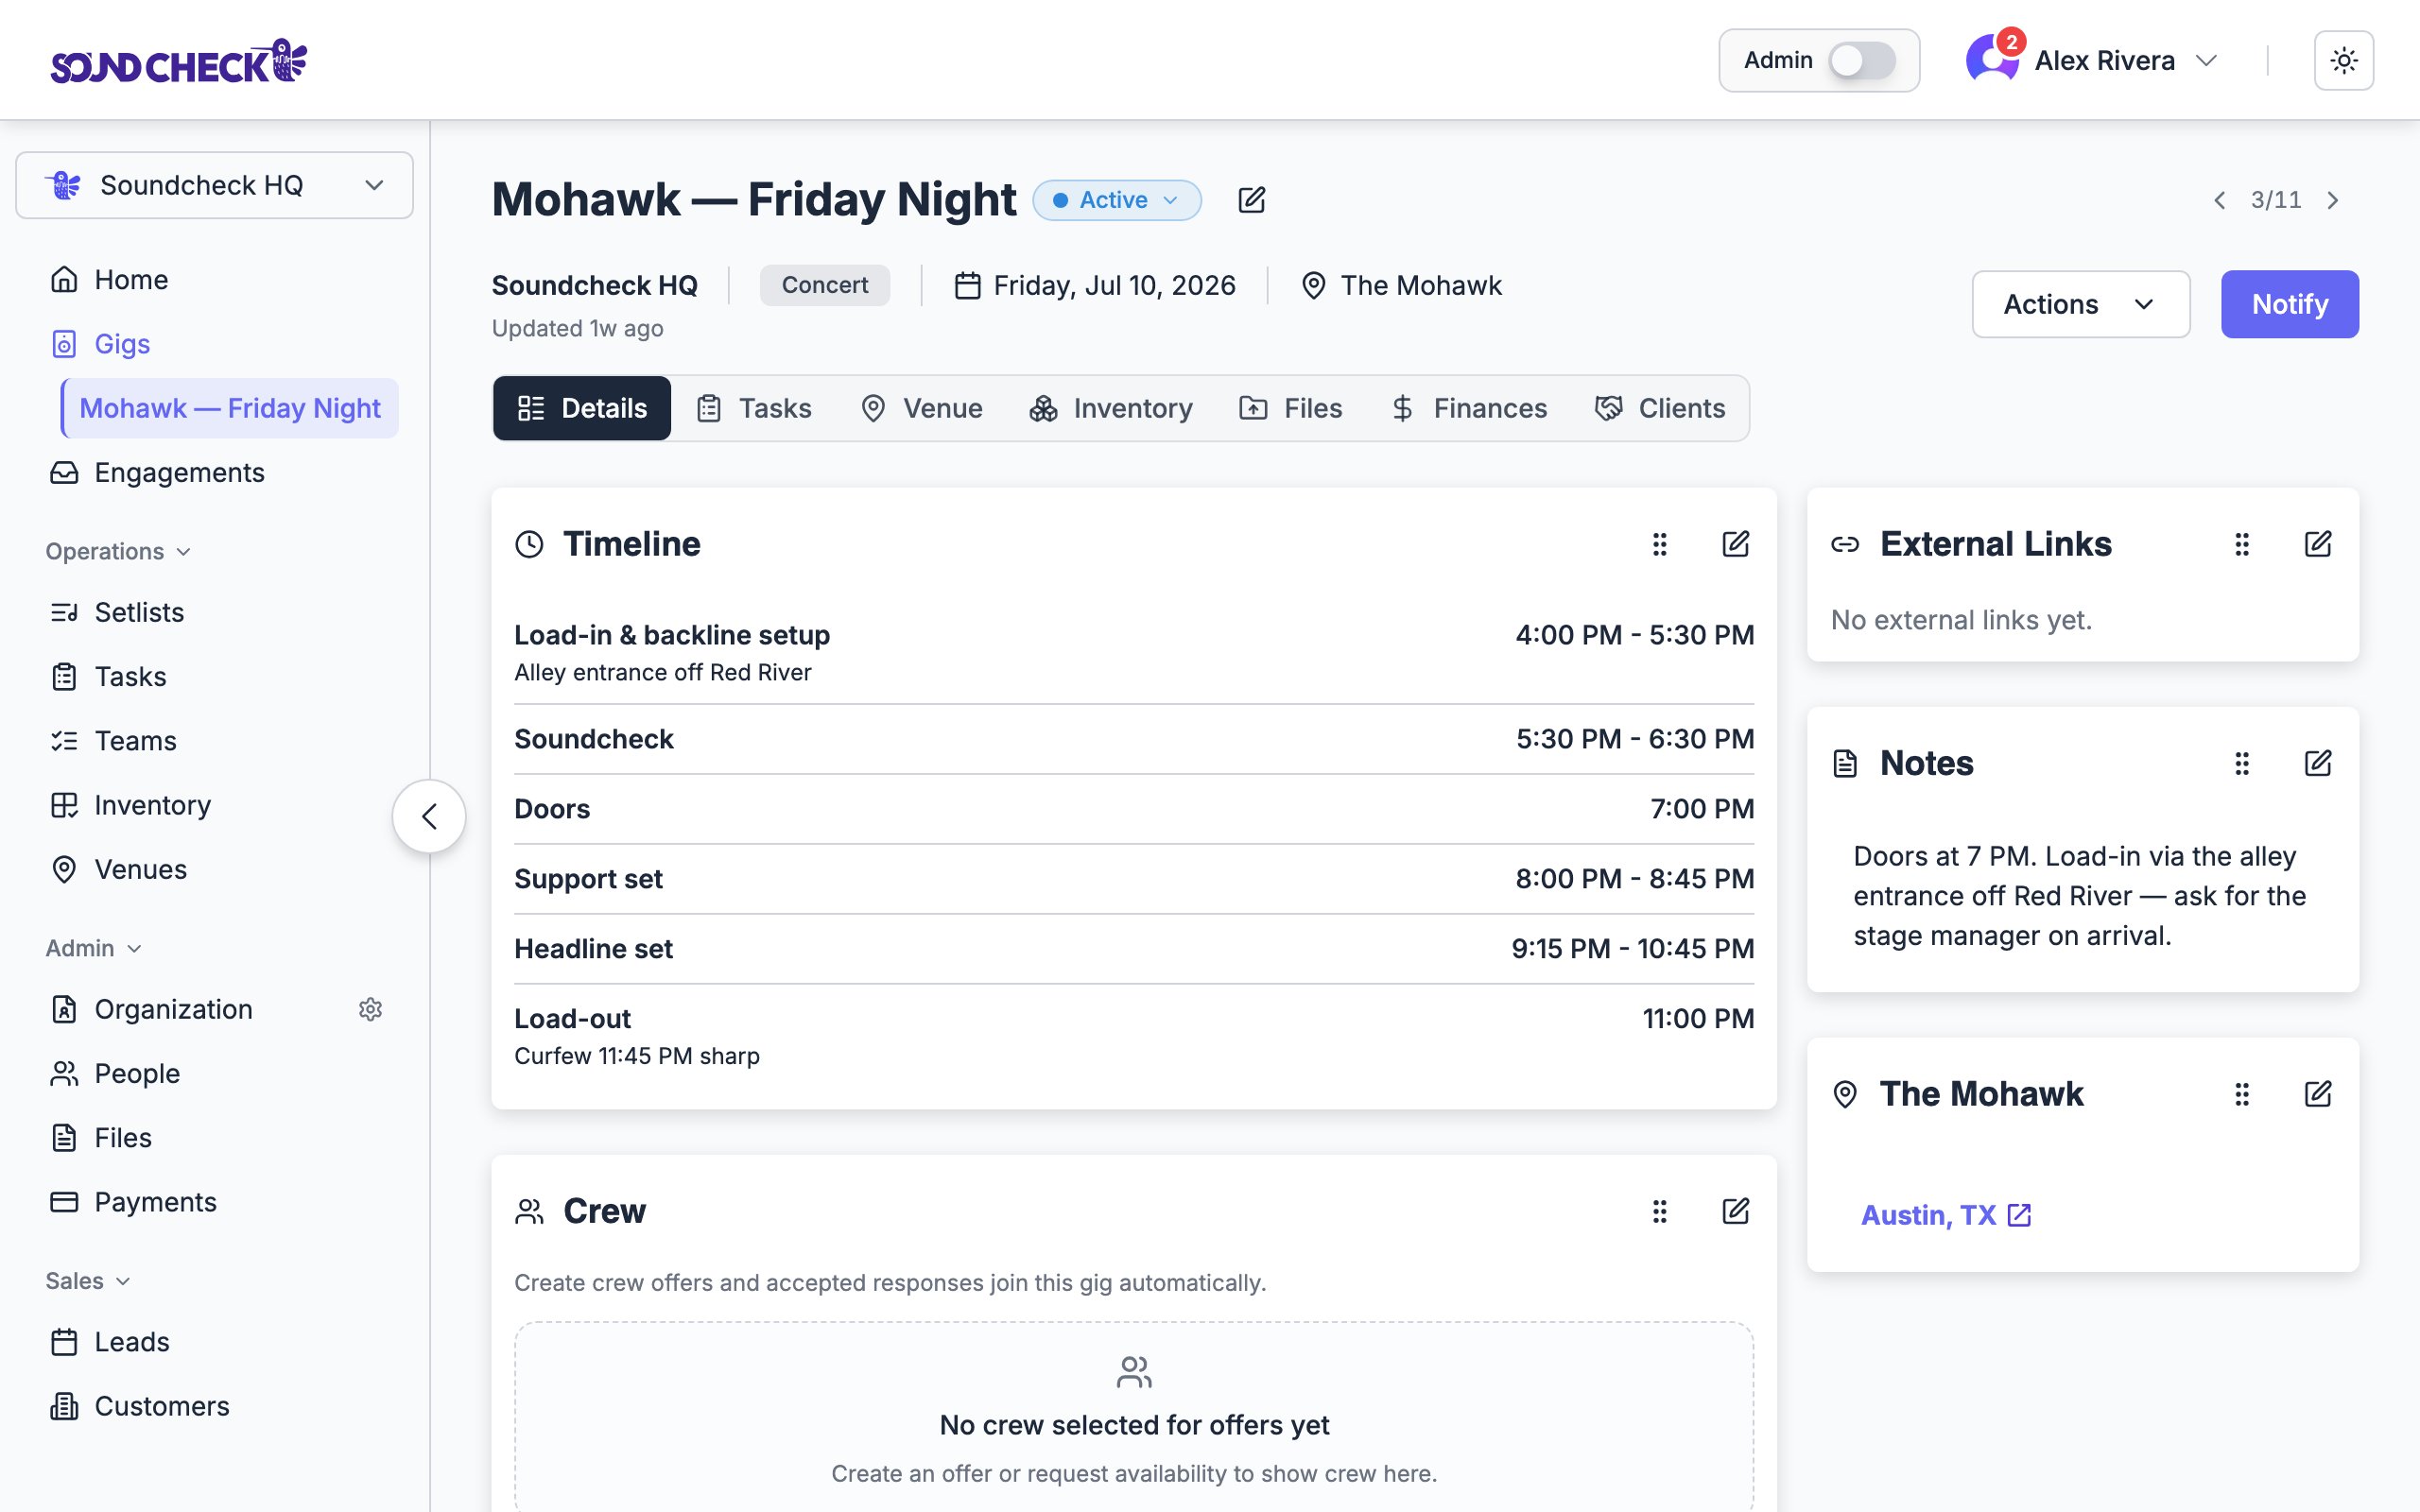
Creating a gig is deliberately light: a name and a date get you a record you can build on. Everything else — venue, crew, schedule, files, money — you layer on afterward from the [gig's tabbed detail](/features/gigs/overview#the-gig-detail). This guide covers the create form and what to do next.
 ## Create a gig
On the **Gigs** board, choose **Create gig**. The **Create new gig** dialog opens.
Enter a **Gig name** — this is the only truly required field. Use something you'll recognize at a glance, e.g. *"Johnson Wedding — Grand Ballroom."*
Pick the **Date**. It defaults to today and can't be in the past. For a multi-day run, also set an **End date** (see [multi-day gigs](#multi-day-gigs)).
Set the **Gig type** and, if you know it, the **Location**. Both are covered below — location is optional.
Choose **Create**. You land on the new gig's detail page, ready to build out.
## The fields
| Field | Required? | Notes |
| ---------------- | --------- | ----------------------------------------------------------------------------------- |
| **Gig name** | **Yes** | The gig's title. |
| **Organization** | **Yes** | Defaults to your active organization; change it if you belong to more than one. |
| **Gig type** | **Yes** | Defaults to *Wedding*. See the full list below. |
| **Date** | **Yes** | Start date. Defaults to today; can't be in the past. |
| **End date** | No | Set only for [multi-day gigs](#multi-day-gigs). Must be on or after the start date. |
| **Location** | No | Free-text venue name + address lookup. See [adding a location](#adding-a-location). |
| **Department** | No | Shown only when your organization uses departments. |
### Gig types
Choose the category that best fits: **Wedding**, **Church**, **Private Gig**, **Corporate Gig**, **Bar/Club**, **Rehearsal**, **Festival**, **Concert**, or **Other**.
Location is **optional**. You can create a gig before the venue is confirmed and add it later — a booking that's still being negotiated doesn't need an address to exist in Soundcheck.
## Multi-day gigs
For a festival weekend, a two-night run, or any gig that spans more than one day, set an **End date** in addition to the start **Date**. Leave the end date blank for a single-day gig. On the [Gigs board](/features/gigs/overview), multi-day gigs show their full date range on the card. To group several *separate* shows into one run instead, use [tours](/features/gigs/tours).
## Adding a location
The **Location** field is an address search. Start typing and pick a suggestion — Soundcheck captures the place name, formatted address, and map coordinates, so the team gets accurate directions.
Begin typing the venue's name or address.
Select the matching place from the dropdown.
The map location is stored with the gig.
The Location field captures *where* the gig is. To link a **saved venue record** — with reusable load-in, parking, and access details, and per-show override notes — open the gig's **Venue** tab after creating it. That's also where venue-specific logistics live for the crew.
## What happens after creating
A new gig is created as **Active** and appears on your board and calendar right away. From its detail page you can now build it out tab by tab:
Add positions, invite crew, and set performance fees.
Lay out the show flow, timeline, and attach files.
Attach or create the setlist for the performance.
Track the checklist that has to happen before the show.
Need a gig to start as a **Draft** instead of Active? Drafts come from [templates](/features/gigs/templates-and-duplication) — using a template creates a draft you review before publishing. See [Draft and publish](/features/gigs/draft-publish).
## Faster setup
### Duplicate a similar gig
If a new gig closely resembles a past one, open the existing gig, use its **⋯** actions menu, and choose **Duplicate**. Schedule times rebase to the new date and copied invitations stay unsent until you send them. See [templates and duplication](/features/gigs/templates-and-duplication).
### Start from a template
If your organization uses [gig templates](/features/gigs/templates-and-duplication), open **Gigs → Templates**, pick a template, and choose **Use template** to spin up a new draft with your standard crew, schedule, and setup already in place.
### Apply a call list
Skip manual staffing with a saved [call list](/organization/teams/call-lists): in the gig's Team section, apply a list to populate positions and primary members with backup call order in one step.
## Troubleshooting
You can still create the gig — the Location field is optional. Add the venue later from the Venue tab, or type the address manually.
Open the gig, edit, and change the date. If the date moves significantly, you may need to re-send team invitations.
You can delete it. Be careful deleting a gig that's already had activity — deletion removes the historical record.
## Next steps
The board, the tabbed detail, and the lifecycle.
Prepare gigs before they go live.
## Create a gig
On the **Gigs** board, choose **Create gig**. The **Create new gig** dialog opens.
Enter a **Gig name** — this is the only truly required field. Use something you'll recognize at a glance, e.g. *"Johnson Wedding — Grand Ballroom."*
Pick the **Date**. It defaults to today and can't be in the past. For a multi-day run, also set an **End date** (see [multi-day gigs](#multi-day-gigs)).
Set the **Gig type** and, if you know it, the **Location**. Both are covered below — location is optional.
Choose **Create**. You land on the new gig's detail page, ready to build out.
## The fields
| Field | Required? | Notes |
| ---------------- | --------- | ----------------------------------------------------------------------------------- |
| **Gig name** | **Yes** | The gig's title. |
| **Organization** | **Yes** | Defaults to your active organization; change it if you belong to more than one. |
| **Gig type** | **Yes** | Defaults to *Wedding*. See the full list below. |
| **Date** | **Yes** | Start date. Defaults to today; can't be in the past. |
| **End date** | No | Set only for [multi-day gigs](#multi-day-gigs). Must be on or after the start date. |
| **Location** | No | Free-text venue name + address lookup. See [adding a location](#adding-a-location). |
| **Department** | No | Shown only when your organization uses departments. |
### Gig types
Choose the category that best fits: **Wedding**, **Church**, **Private Gig**, **Corporate Gig**, **Bar/Club**, **Rehearsal**, **Festival**, **Concert**, or **Other**.
Location is **optional**. You can create a gig before the venue is confirmed and add it later — a booking that's still being negotiated doesn't need an address to exist in Soundcheck.
## Multi-day gigs
For a festival weekend, a two-night run, or any gig that spans more than one day, set an **End date** in addition to the start **Date**. Leave the end date blank for a single-day gig. On the [Gigs board](/features/gigs/overview), multi-day gigs show their full date range on the card. To group several *separate* shows into one run instead, use [tours](/features/gigs/tours).
## Adding a location
The **Location** field is an address search. Start typing and pick a suggestion — Soundcheck captures the place name, formatted address, and map coordinates, so the team gets accurate directions.
Begin typing the venue's name or address.
Select the matching place from the dropdown.
The map location is stored with the gig.
The Location field captures *where* the gig is. To link a **saved venue record** — with reusable load-in, parking, and access details, and per-show override notes — open the gig's **Venue** tab after creating it. That's also where venue-specific logistics live for the crew.
## What happens after creating
A new gig is created as **Active** and appears on your board and calendar right away. From its detail page you can now build it out tab by tab:
Add positions, invite crew, and set performance fees.
Lay out the show flow, timeline, and attach files.
Attach or create the setlist for the performance.
Track the checklist that has to happen before the show.
Need a gig to start as a **Draft** instead of Active? Drafts come from [templates](/features/gigs/templates-and-duplication) — using a template creates a draft you review before publishing. See [Draft and publish](/features/gigs/draft-publish).
## Faster setup
### Duplicate a similar gig
If a new gig closely resembles a past one, open the existing gig, use its **⋯** actions menu, and choose **Duplicate**. Schedule times rebase to the new date and copied invitations stay unsent until you send them. See [templates and duplication](/features/gigs/templates-and-duplication).
### Start from a template
If your organization uses [gig templates](/features/gigs/templates-and-duplication), open **Gigs → Templates**, pick a template, and choose **Use template** to spin up a new draft with your standard crew, schedule, and setup already in place.
### Apply a call list
Skip manual staffing with a saved [call list](/organization/teams/call-lists): in the gig's Team section, apply a list to populate positions and primary members with backup call order in one step.
## Troubleshooting
You can still create the gig — the Location field is optional. Add the venue later from the Venue tab, or type the address manually.
Open the gig, edit, and change the date. If the date moves significantly, you may need to re-send team invitations.
You can delete it. Be careful deleting a gig that's already had activity — deletion removes the historical record.
## Next steps
The board, the tabbed detail, and the lifecycle.
Prepare gigs before they go live.